Are you center punching the location of the holes before drilling?


Are you center punching the location of the holes before drilling?
-------------------------
Steve
1993 4runner, SAS, 3.0L, Auto Tranny
2007 4runner, stock. For now.

Sadly yes. I chased down the source and I will try to explain but probably fail at explaining.Originally Posted by Robinhood4x4

The drill has a torque twist to it naturally but the allowance for the movement comes from the way the drill is secured to the press frame. There is a horizontal and vertical clamp that is used but there is nothing done to arrest the twisting movement caused by friction with a surface. So as a result it twists down and to the right with the drill bit rotation. I am starting to think it's an eighth down and eighth right as that would be an equal movement but anyway.
The twisting motion is centered around the depth gauge and it is the depth gauge that stops it from rotating further. If I stuck a small piece of metal in there it would stop the rotation but I would not be able to raise or lower the bit.
98 3rz 4x4 5spd- Monstalined, 99 Talls, 4.30 E-locker, Extra Lights
In Progress:
Tundra/Rear Disc Brakes w/parking brake
Roof Rack/Rear Ladder
Sliders
1st Gen Rollbar Shelf
Got it, makes sense.
Looking good, by the way. When do you think you'll be done?
-------------------------
Steve
1993 4runner, SAS, 3.0L, Auto Tranny
2007 4runner, stock. For now.
Sorry I had to run and then it's been a whirlwind of activity. Things that still need to be done are:
Weld the front 4 mounts (I cut them yesterday)
Weld in the tie downs (bend and cut nails)
Mount the rocketbox and make sure I have 4 beams to mount to (I have 5/8" tube to make mounts from)
Drill and run wiring for lights
Grind all the welds down
Primer/paint (self etching primer and chassis saver paint)
Remount the rack
So the wiring is going to end up being a larger conduit than originally anticipated but it will be a project unto itself. I am going to use a 15 pin bendix military connector and will drill a hole close to the front feet for easier wiring access. I plan on having reverse lights, side lights, and a 40" light bar (eventually), and a few circuits for jic.
All that being said I will probably be done Saturday sometime...hopefully?? Sunday definitely
98 3rz 4x4 5spd- Monstalined, 99 Talls, 4.30 E-locker, Extra Lights
In Progress:
Tundra/Rear Disc Brakes w/parking brake
Roof Rack/Rear Ladder
Sliders
1st Gen Rollbar Shelf
So today in a lucky day I got off at noon, came home, and told the wife I wasn't coming in till dark lol. I stayed true to my word too!
I figured out a method for not getting slag on my windshield and side windows. Sad thing is that it isn't exactly flame proof but....it does work for tacking stuff up. I call that a win.
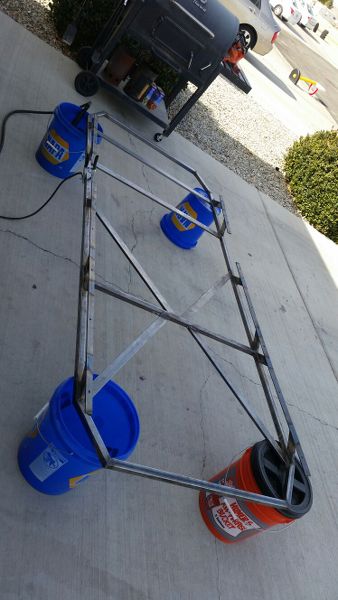
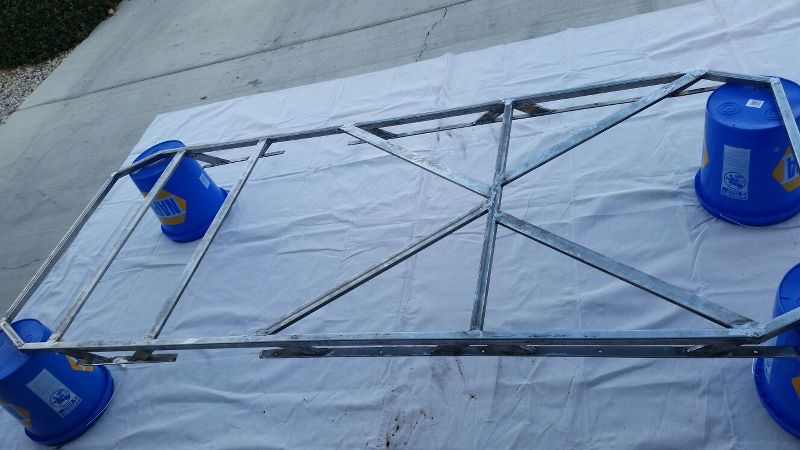
Everything all tacked up. Not really thrilled with the gaps that the front had but it ended up working out.
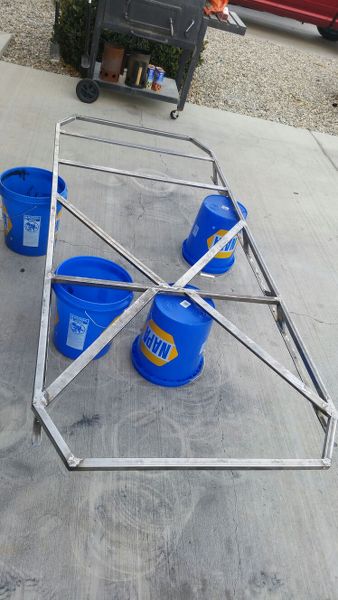
Let the grinding begin!! I started grinding at roughly 1330
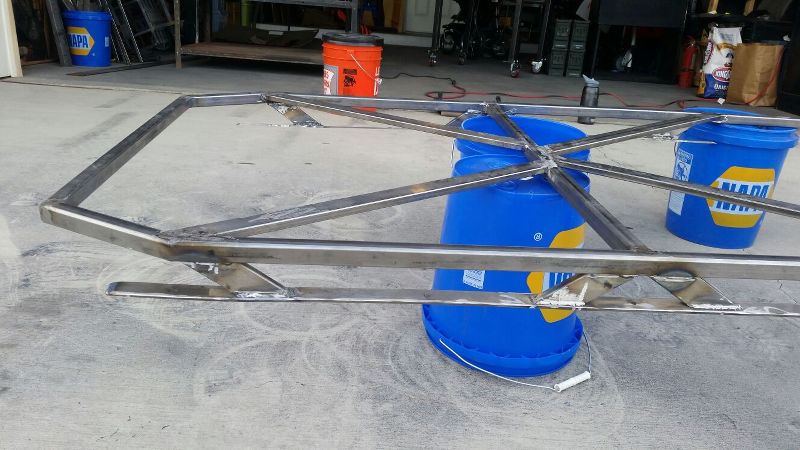
I finished at 1700. I took the liberty of bevelling the edges where I could. I will finish them up with a dremel here before painting. At one point after I turned off the grinder my hands still felt vibration lol. I can whole heatedly vouch for bosch grinders though. I was grinding nearly the whole time and it never even got hot. Most of the welds needed little attention. Some of the welds where there were larger gaps took some more attention but there were no pinholes and it didn't look like there was any cold lap so I'm gonna consider this project a success since I could bolt it to the roof and take off.
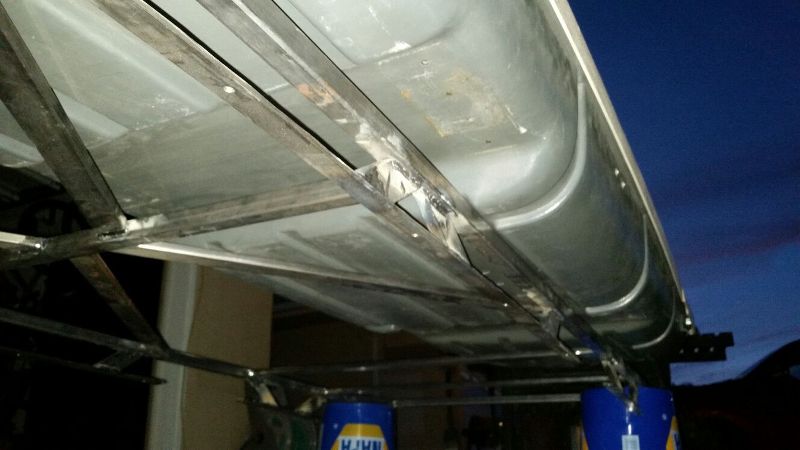
So with all good amounts of progress I had a minor setback or design issue. The good news is I have time to figure it out. The bad news is I have to figure it out. The bottom of the rocketbox is not as flat as I thought so I have to either come up with a new mounting area or I have to add some rubber feet to the front and rear of the rocket box so it doesn't flex itself to pieces over time.
Rear of the box
Middle
So it only touches in the middle and really on one side. It lines up with zero of my cross members directly as well in its current position. Also the actual mounts are not even close vertically as you can see where the holes are.
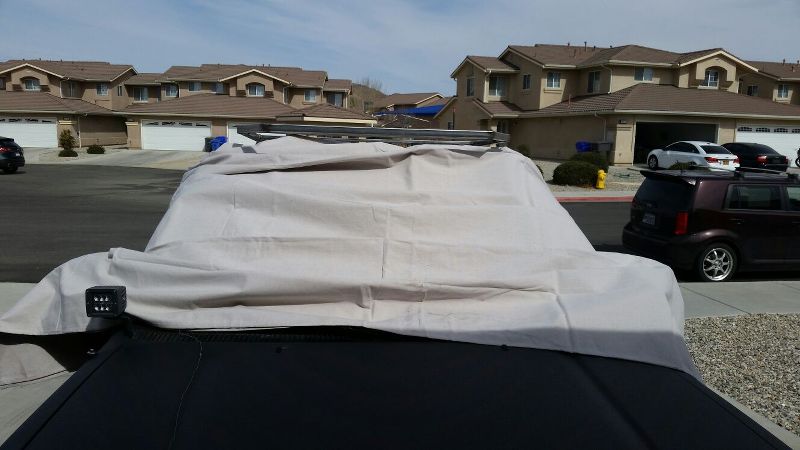
This is the position I want it in from the top which actually gives quite a nice area for cargo junk on the other side. I don't have to add anything on.
View from the back to show the overhang which is really nothing.
As I see it I need to construct an adapter bracket for the rocketbox. Since I can still lift the rack with one arm weight really isn't an issue but I like the fact that the rack is flat. It allows for the greatest cargo flexibility. The bad part about a bolt on bracket would be the fact that the box is no longer secured with a lock and key. Someone could unbolt it and take off with the whole thing.
I suppose I could use long (like 6 or 7") u-bolts and just run them under the crossbars around the adapter, and through into the box. I am very open to ideas though.
Still to come:
Nails....lots of nails
More welding!
More grinding!
Primer/Paint
It's looking more and more like Sunday. Won't be able to get to this till noon tomorrow. Once I finish this I will be starting the harnesses for the lights above the headliner.
98 3rz 4x4 5spd- Monstalined, 99 Talls, 4.30 E-locker, Extra Lights
In Progress:
Tundra/Rear Disc Brakes w/parking brake
Roof Rack/Rear Ladder
Sliders
1st Gen Rollbar Shelf
Is there anything special about the factory mounting locations of the box, like are they reinforced with steel? I'd think that you could drill some more holes in the box where it touches the rails and reinforce the inside with some flat steel bar. It's hard to tell, but I think you could then run a bolt up through the rails where the head would be exposed, but the locknut on the inside of the box wouldn't be so thieves wouldn't be able to unscrew the bolt.
Alternatively, you can make an adapter like this. The bolts go in from the top and screw into the rails so you'll need to weld in nuts to the bottom side of the rails.

-------------------------
Steve
1993 4runner, SAS, 3.0L, Auto Tranny
2007 4runner, stock. For now.
Sadly there isn't anything except plastic anywhere on the inside. I just don't want to make the box bend when I bolt it down. The plastic is already about 18 years old lol.
The pictures at night didn't help any either I'll bet. It's kinda tricky to picture but the box is kind of like a slightly flattened banana on the bottom. The middle is flat but the two ends rise for aerodynamics.
I like the idea of reinforcement inside and then making a type of cradle for the box. That shouldn't be too hard.
This is waiting for after the trip as I don't think I will have anything up there except the fuel can, wood, and a waste can.
I've got a lot of cutting, bending, and welding to do lol.....and then wiring.
Last edited by Kryptoroxx; 02-21-2015 at 08:38 AM.
98 3rz 4x4 5spd- Monstalined, 99 Talls, 4.30 E-locker, Extra Lights
In Progress:
Tundra/Rear Disc Brakes w/parking brake
Roof Rack/Rear Ladder
Sliders
1st Gen Rollbar Shelf
So I did a little shopping and thinking while watching my daughter and I came up with a few ideas that are worth mulling over at least.
So my idea is to use the outside bar to put two u-bolts in the middle section where the folds that go width wise are. I know those are used for rigidity but no idea what they're actually called lol.
The other two will go on the diagonal bar on the belly bottom of the box. For securing purposes it's not a whole lot but wait!! There's more!!
Where the box starts to lift from the bars I am going to find a place where I can put a couple of rubber feet to help support and then run a bar of reinforcement on the inside. That should keep the load both secure and balanced while in travel.
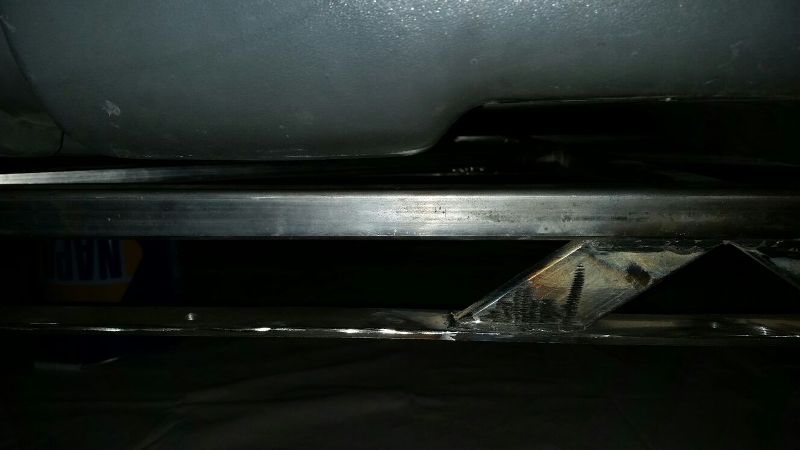
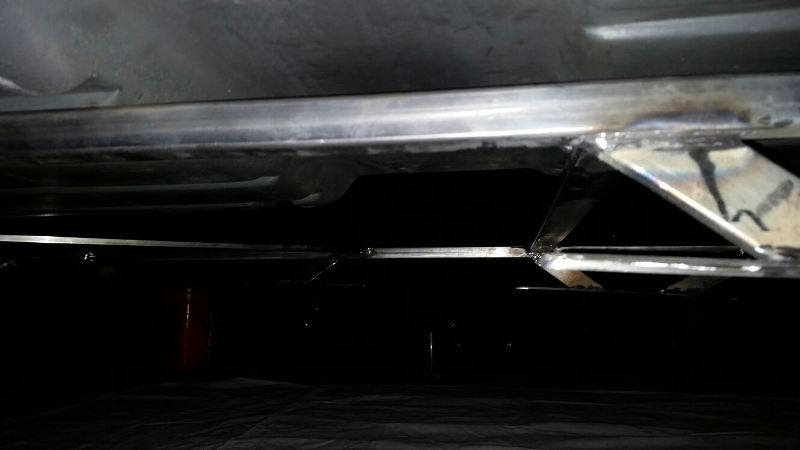
Just illustrating where the feet will go
I know the original mounts did not include stuff like the rubber feet for some more support but Yakima probably didn't test out an 18yr old rocket box on washboard either. The rubber feet I found are of various heights and are usually used in speaker cabinets. I figure if I get them a hair long (no more than 1/8") then I won't have to worry about rocking front to rear breaking the box in the center.
U-bolts
http://www.amazon.com/National-N222-...=u+bolt+square
Rubber feet
http://www.amazon.com/Penn-Elcom-914...r+cabinet+feet
98 3rz 4x4 5spd- Monstalined, 99 Talls, 4.30 E-locker, Extra Lights
In Progress:
Tundra/Rear Disc Brakes w/parking brake
Roof Rack/Rear Ladder
Sliders
1st Gen Rollbar Shelf
Sounds like it should work.
-------------------------
Steve
1993 4runner, SAS, 3.0L, Auto Tranny
2007 4runner, stock. For now.
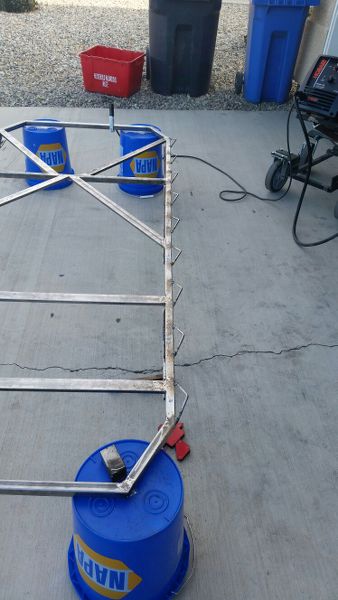
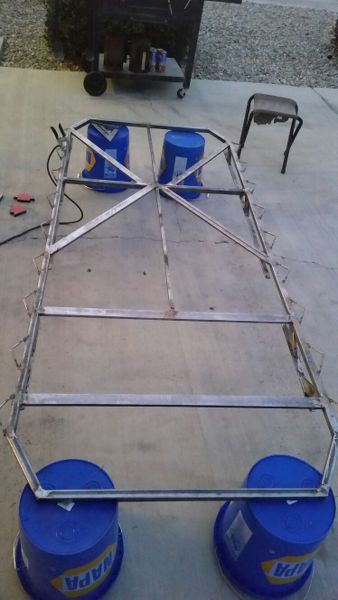
After I was able to work on the rack today I got a fair amount done. Not too much left to do but clean up some welds and paint this sucker.
Once I made a system for bending the nails I was able to get them almost identical to each other which is nice. I did 40 nails. I used 18 lol. Since they were 10 cents apiece and Home Depot is 40 minutes away I figure I'm still on top of the margin. I will find a way to use them sometime.
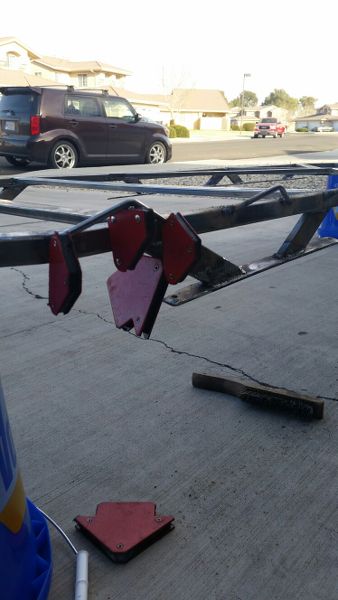
These things welded so easily I was surprised.
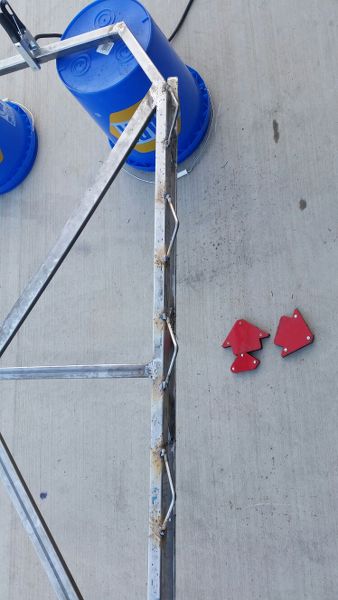
I don't know why everyone bashes on the harbor freight magnet squares. I think they're handy and it made getting the nails in at an angle a breeze.
I am still not sure how it happened so I will file it in blessings but the way the measurements worked out was.....spooky. I didn't have to re-mark and I didn't do any math in advance. I just said well the nails are 5.25" and I want a 4" gap....and it worked out.
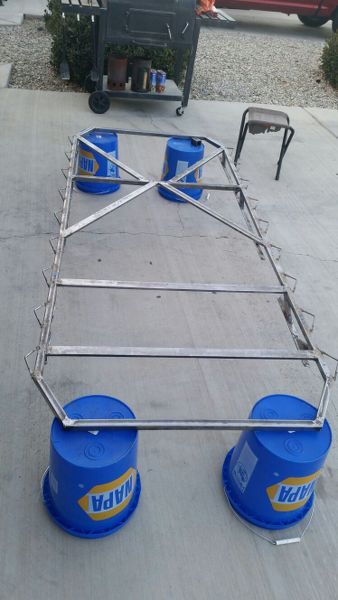
Kinda finished....I think it came out fairly well. Thanks to the magnets the nails are at the same angle and height for mounting. They aren't mathematically perfect....but not many will be able to tell either.
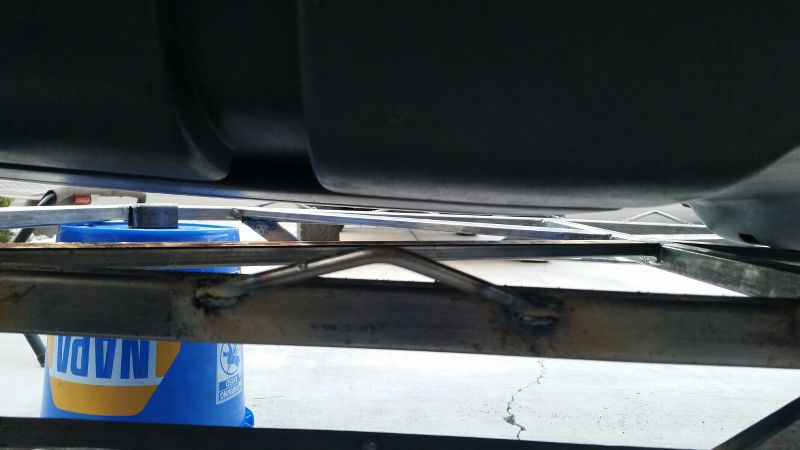
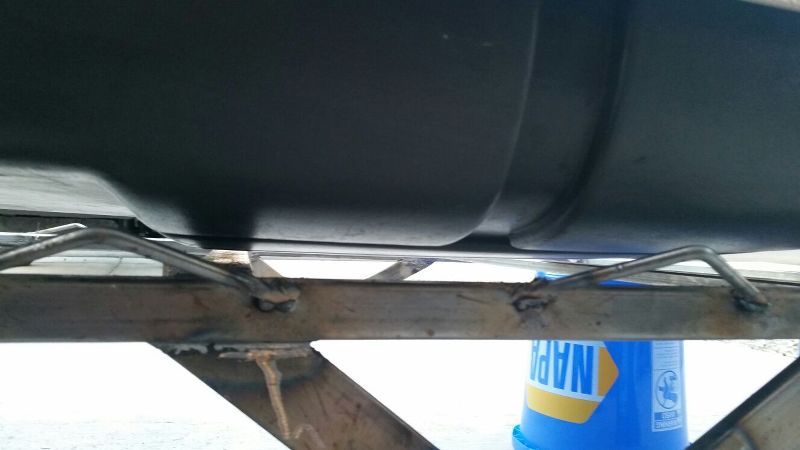
Back to the rocketbox problem. This time the pics are during the day with the tie downs mounted.
This is the back's height off the rail.
This is the front.
And a side profile.
It occurred to me while I was looking at the rocket box that there is no way to tie anything down with the rocketbox sitting on the rack. So I quickly added a center bar just for that purpose.
I suppose that I could use some of those nails on the cross bars for tie downs going lengthwise.
Tomorrow is a tiny bit more welding, grinding, and we are going to start painting. Hopefully I can get started on the wiring harnesses for the LED lights as well.
98 3rz 4x4 5spd- Monstalined, 99 Talls, 4.30 E-locker, Extra Lights
In Progress:
Tundra/Rear Disc Brakes w/parking brake
Roof Rack/Rear Ladder
Sliders
1st Gen Rollbar Shelf
 Posting Permissions

 Reply With Quote