


Version 1 was designed to fit inside of my Yakima roof rack and bike trays. It worked great and over time it was modified to fit my uses. I had lengthened the basket, added threaded holes for gas cans and my Tred Pros as well as my lighted whip. The rack was pretty much built out of surplus material and I really liked it. One thing I didn't like was grinding off paint to make modifications so the thought of starting over kept coming up.
After Sean built the roof rack for his 3rd gen I was really wanting to build another basket but couldn't really decide what I wanted much different from what I had. I like the look of full length but with a sunroof and DD duties I didn't want to battle wind noise and a possible drop in fuel mileage. I didn't have plans for lights up top so I talked myself out of the hassle of working around the sunroof and go for another 'basket'.
After some sketches and trips to metal suppliers I had a build list but just couldn't get started. Part of it was available time but the other part was the idea that some parts of this project could be daunting and I didn't want to rush. I contacted Jonathan Kucyj (some may know him from other forums) from Infidel Garage about building me a base to start on. He's somewhat local and builds a nice full length rack for a decent price. In short time he built me up what I needed, pretty much what I had but with better feet, wider and lighter.
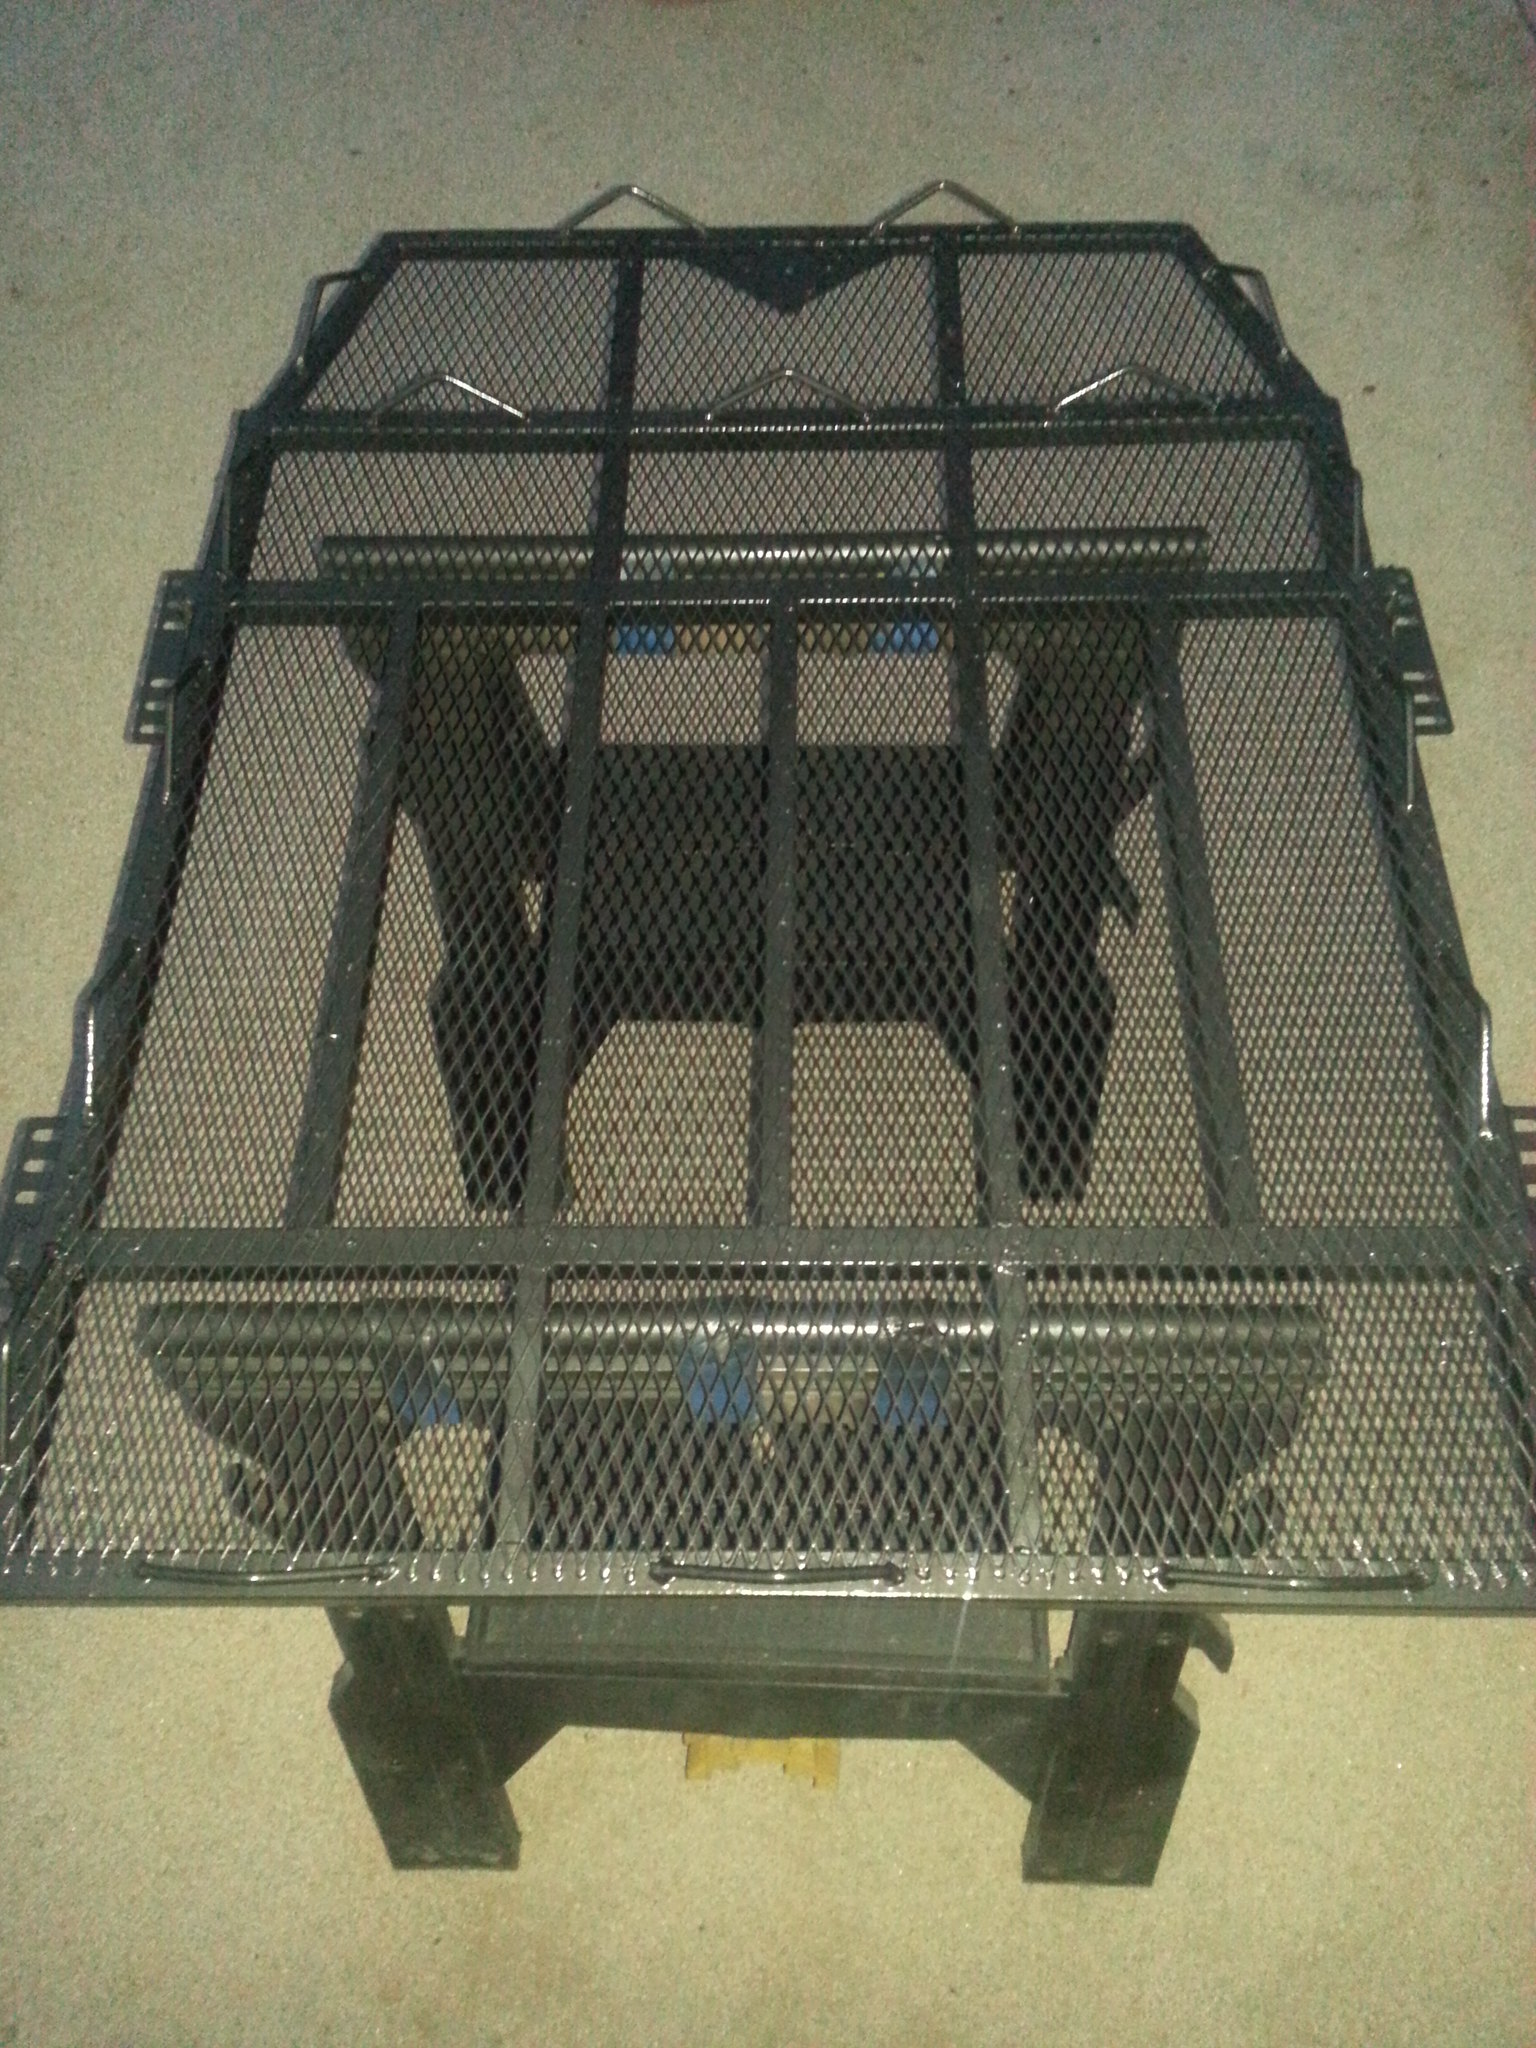
I don't seem to have any pictures of the bare rack as received but it's pretty much square and extends outward from the factory tracks about three inches on each side whereas Version 1 was narrower than the factory tracks. I no longer have to wedge this between bike trays and the extra width gives me more storage area and will make it easier to mount my awning. Here is a screenshot from an email where the rack is mounted on Jonathan's 4Runner.
Starting with a base saved me a lot of time as I didn't have to hassle with bending tube or make four feet that matched. If the task was to build four feet that were slightly different from each other I'm the guy but I've already been down that road. One addition I wanted to make to Version 2 was removable crossbars. This would allow me to mount my Yakima products and haul items like wood easier than with the Version 1 rack. Making the bars removable would increase the versatility which is what I was after.
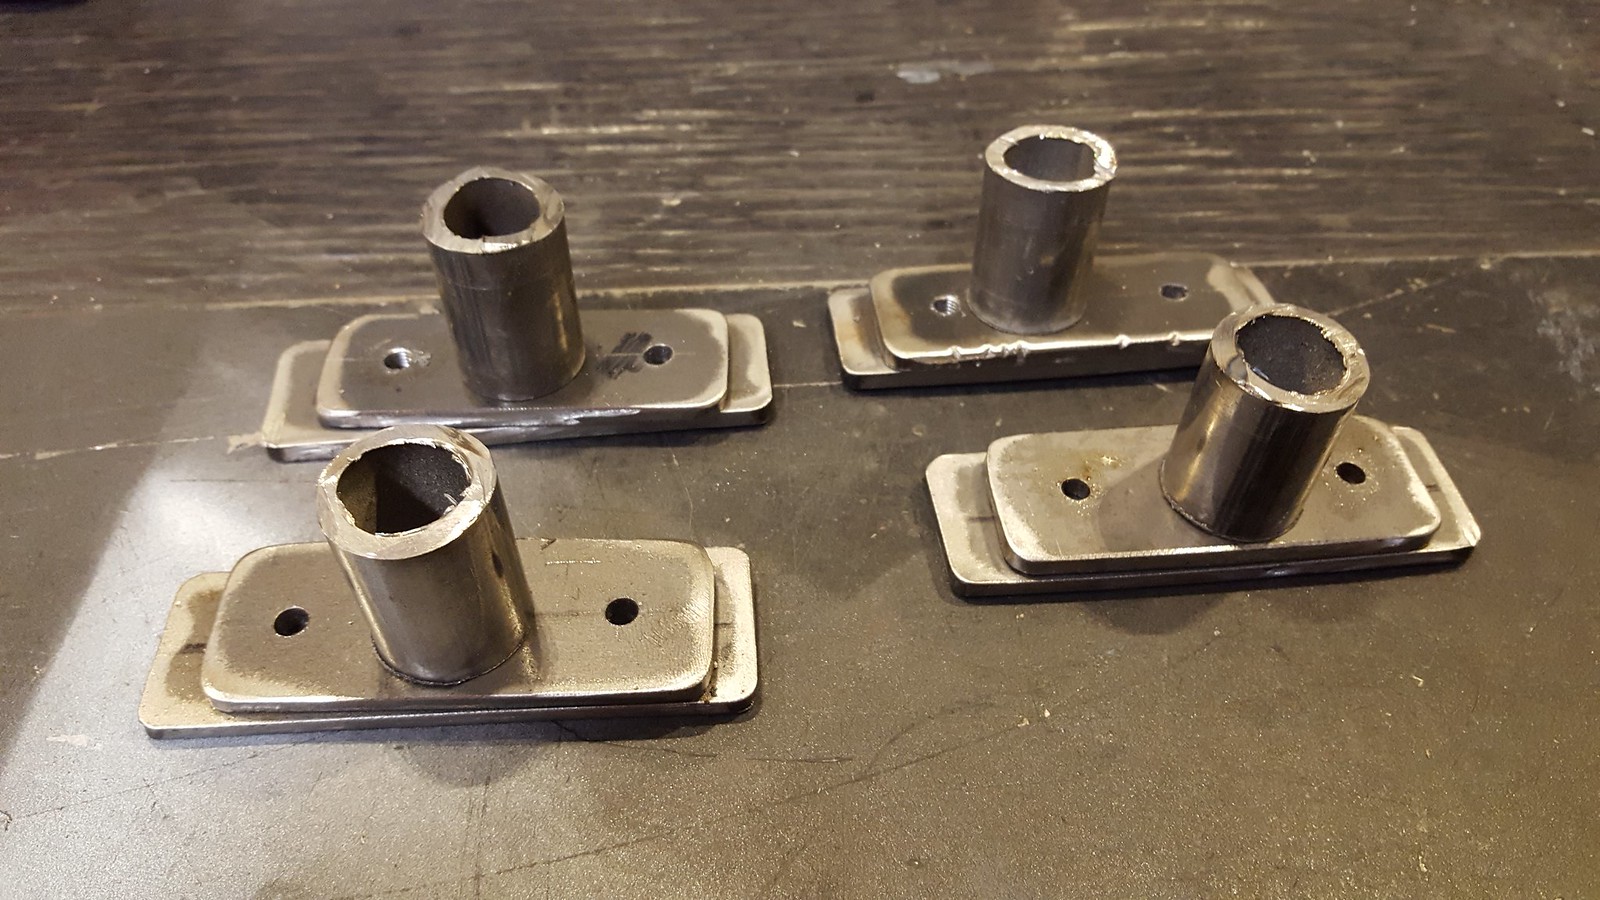
In the making of my hitch mounted bike rack I learned that the OD of 1" EMT was close enough to be made to work with Yakima products. It's also thick enough to be welded without too much hassle so I picked up a couple of sticks. Jonathan has removable crossbars as an option on his racks but they mount to the upper hoop of the rack of which I don't have. I used his design but rotated the mounting position 90 degrees and they turned out pretty nice but were a lot of work.
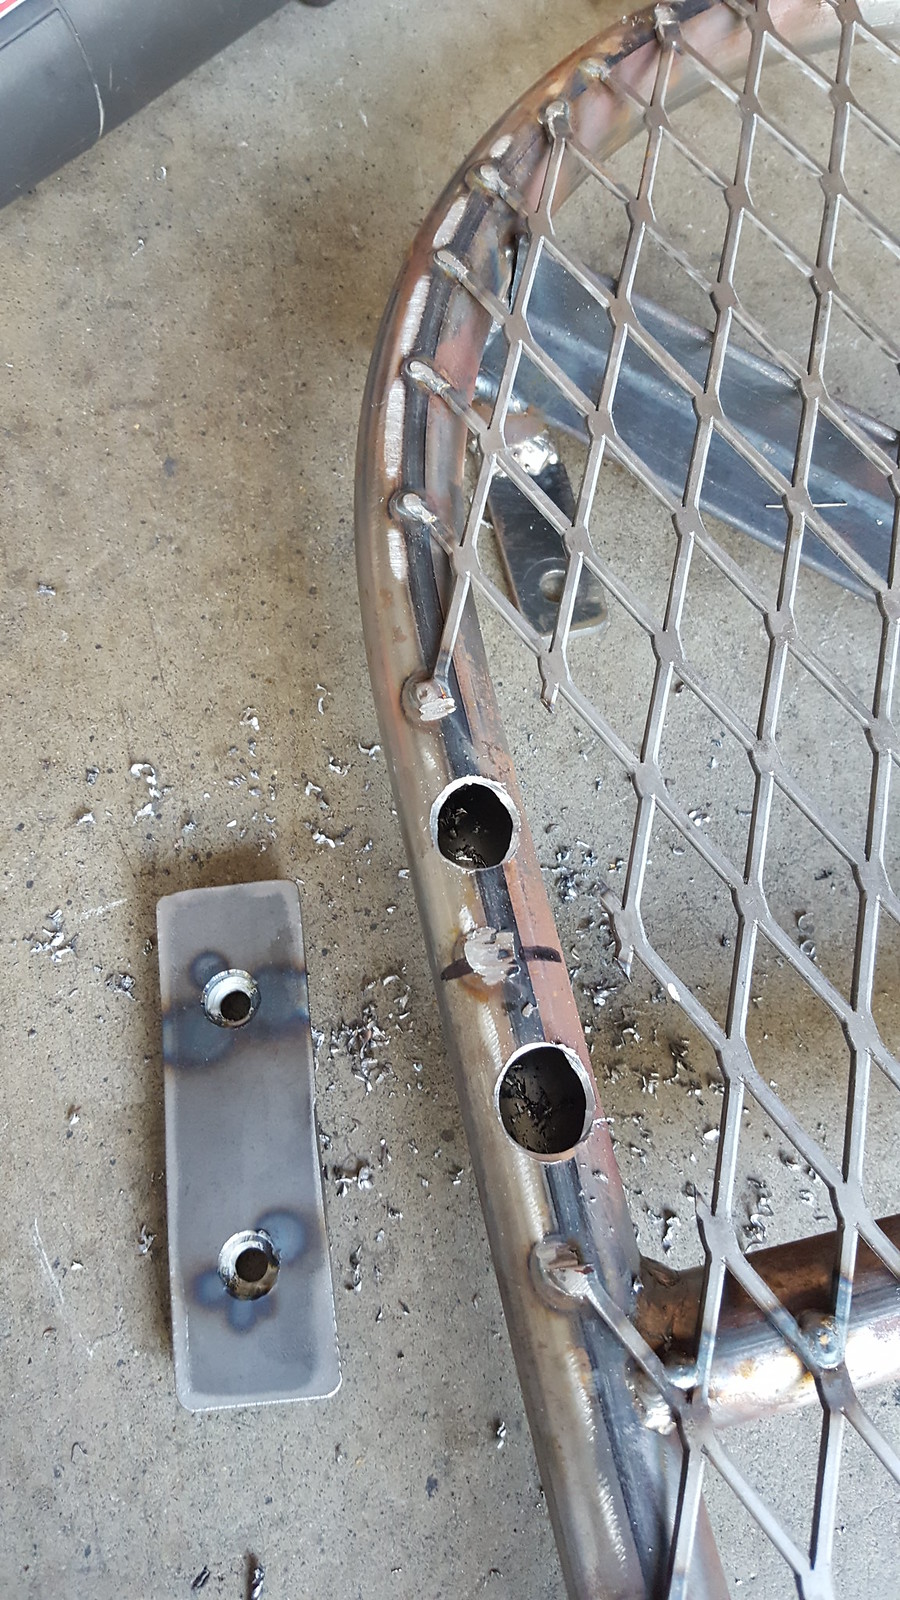
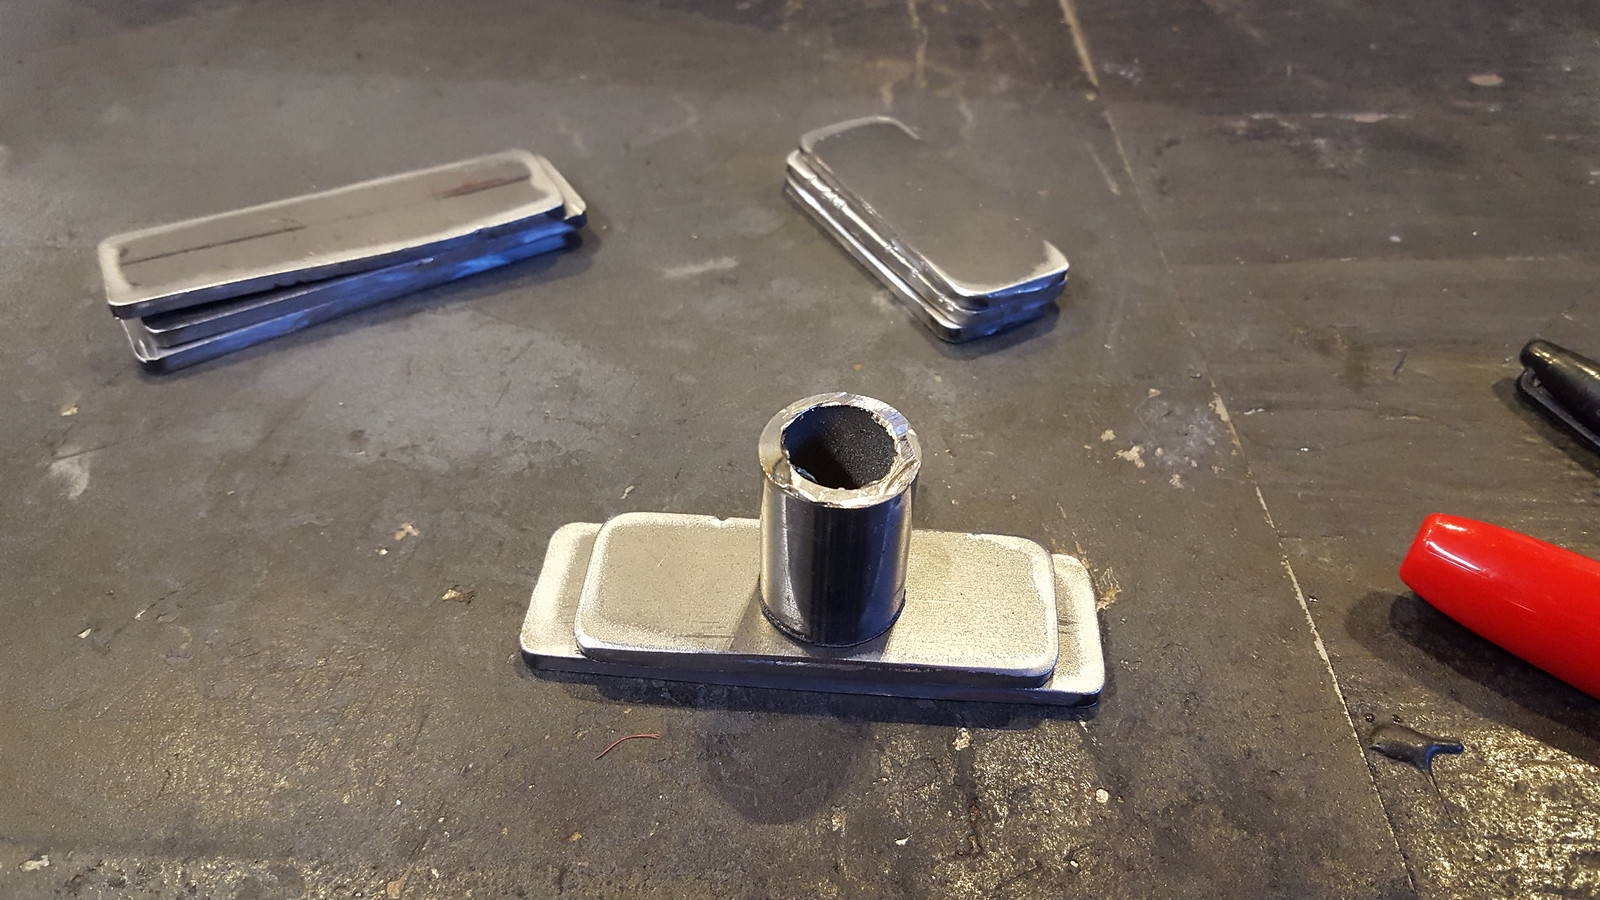
The first step was to figure out where the crossbars would be located. Location was key for compatibility with accessories as well as cross members on the rack. I made four mounting plates and welded nuts on the back of them. The idea was that the nuts would be sunk into the tube and the plate welded in place. One of the unforeseen challenges was drilling the holes in the tube. The rack is too large to stick in the drill press and hollowing out eight large holes in the side of a cylinder is harder than it looks. Also, I dare you to walk barefoot in my garage. I'm going to have to get the kids tetanus shots before summer.
Progression:


 Reply With Quote