


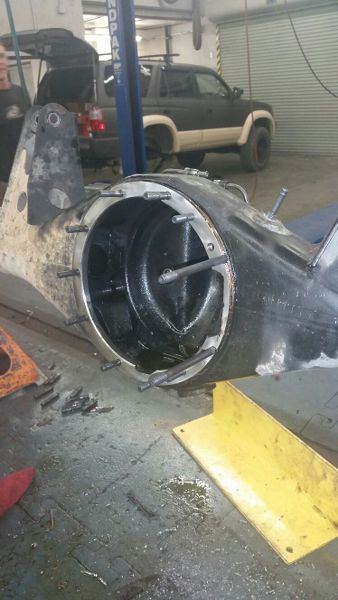
I did both actually. I liked the transfer punch but since the hobby shop didn't have a guide I had to start it with the big bit and then drop to the 17/64 for the actual hole. I think everything came out rather well. I wanted to take more pictures but I was filthy. I also did not have a torch so I had to do it with a cut off wheel and then finish it with filing. Crude method and it took me 2.5 hours but the end result came out fairly well. I ran out of time tonight so I didn't finish but I have everything tapped and ready for clean-up and re-installation.
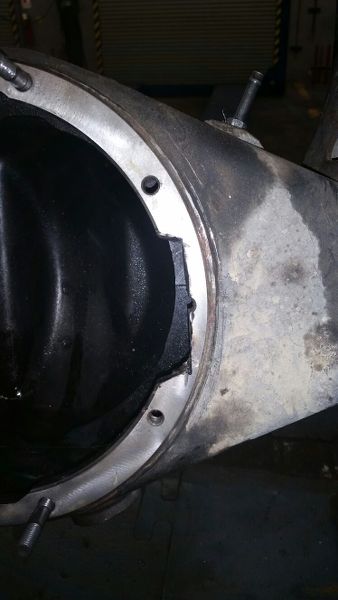
Used a paint marker to make my first cuts with
This did not fit so I dragged out a hand file to finish it up with.
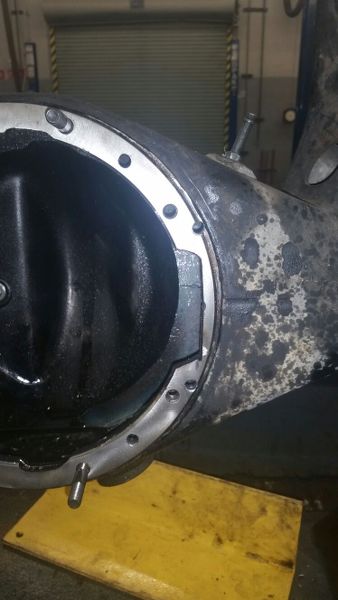
This fit fairly well and was easy to install and remove the diff with.
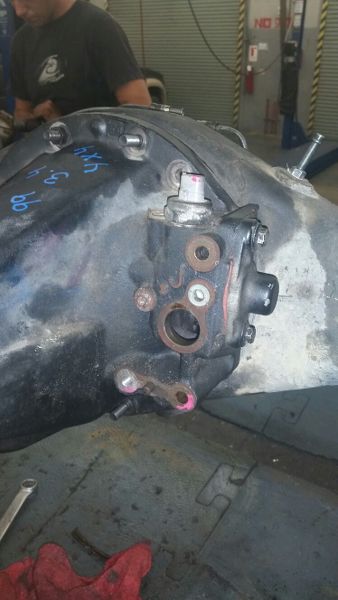
Took the actuator off to center punch and begin the holes. Using that big bit to start the holes allowed me to easily start the stud hole that is kinda off the machined surface so that was really nice.
The holes look crooked in the pic but they really are straight.
I am sure cleaning up and re-assembly will take me a little while plus I will be attempting to get the front diff done tomorrow as long as the wife lets me. I was a little disappointed I didn't get it done tonight but I am pleased with the outcome. This was kind of a nail biting mod where slow and steady wins the race. No one wants to need to buy a housing.


 Reply With Quote