


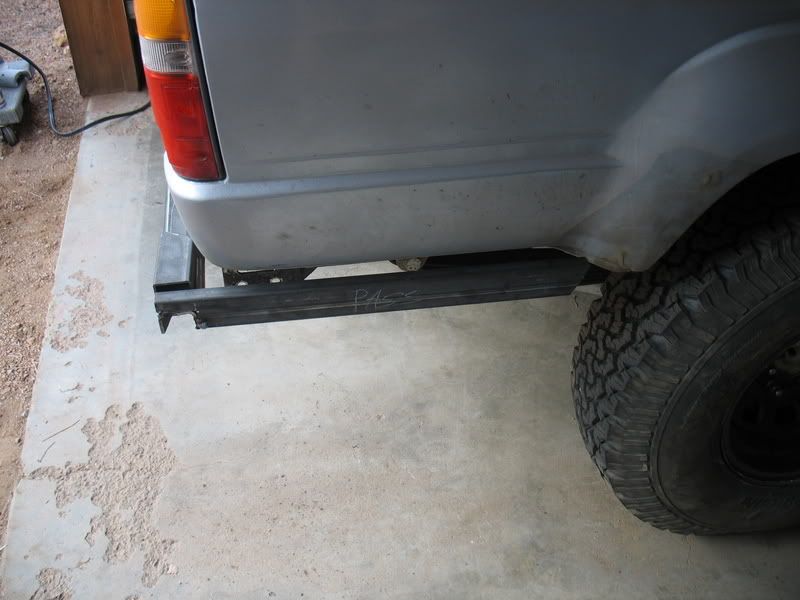
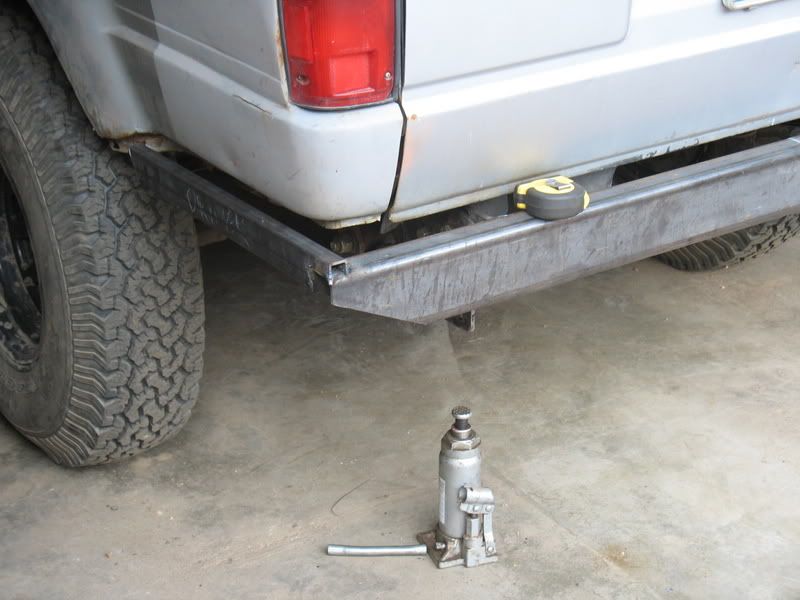
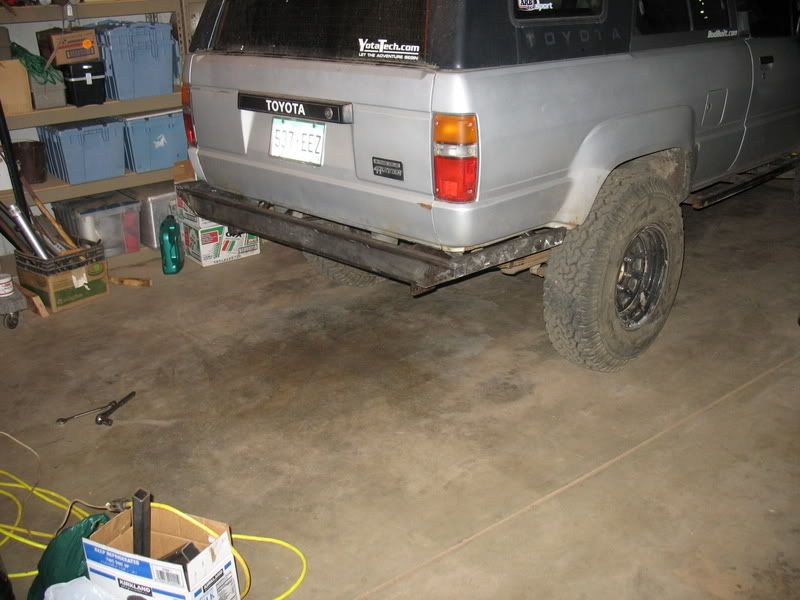
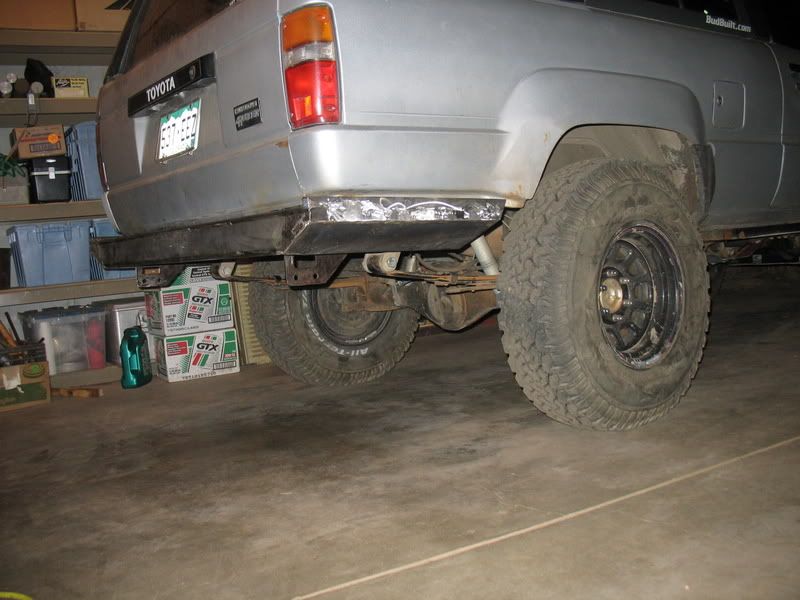
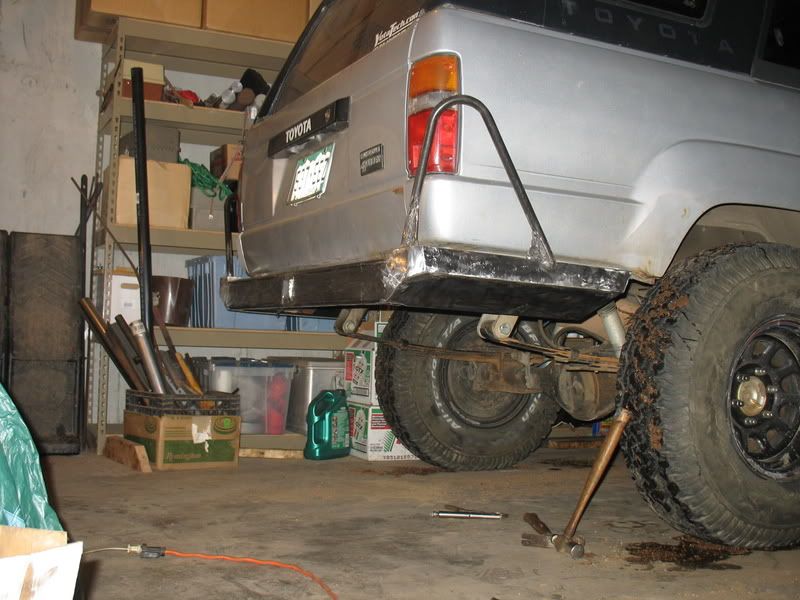
As some of you know, I had a "not so well welded" bumper on my truck at CM06. Being low on fundage at the time, (mostly due to transfer case gears and air lockers) I re-welded my old bumper to serve until i got the time and motivation to build a new rear bumper.
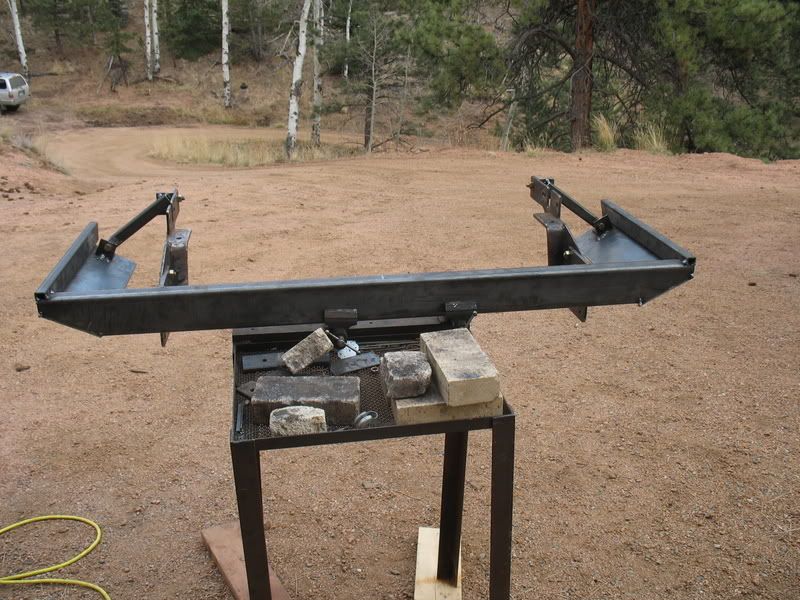
This is Phase 1. Basically structure. Some cosmetic grinding, but mostly just tacking, fitting, and solid-welding the whole thing.
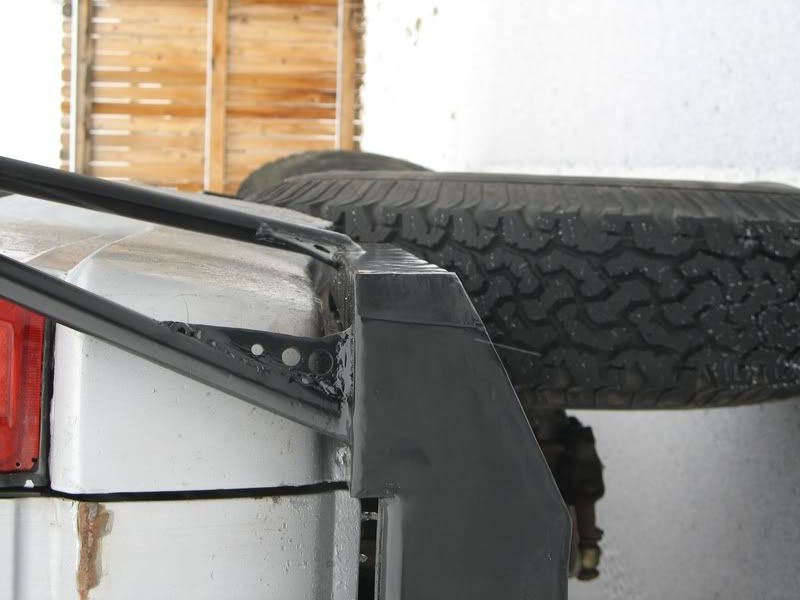
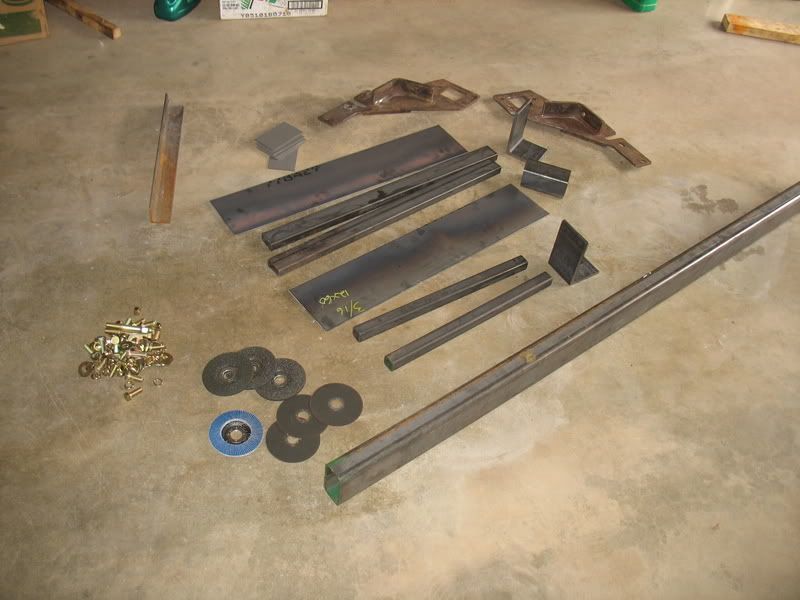
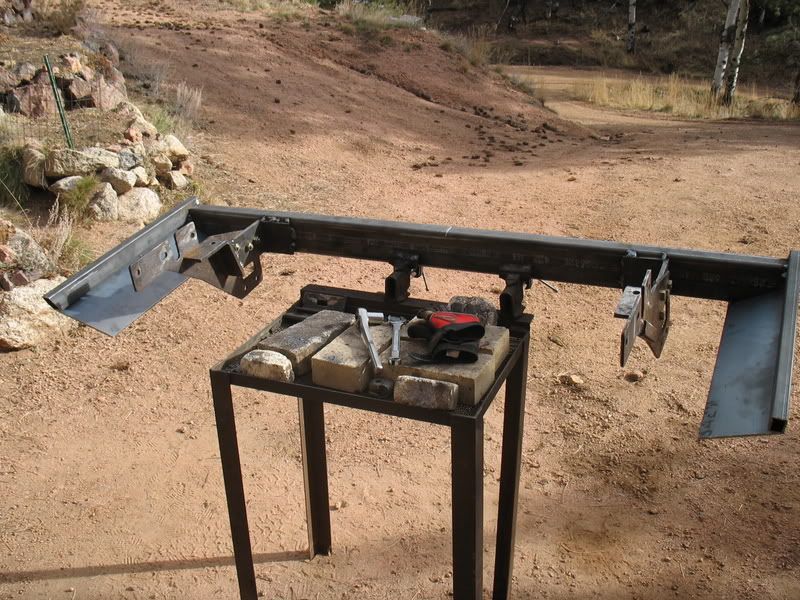
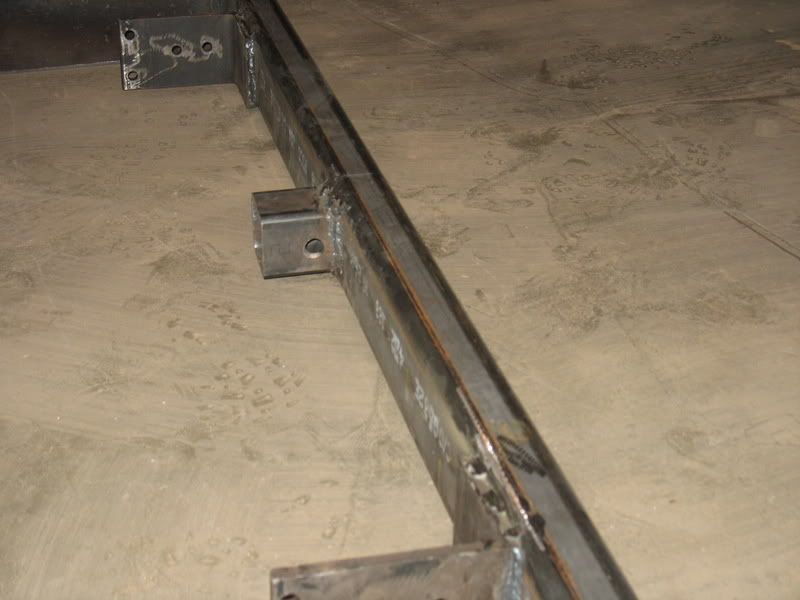
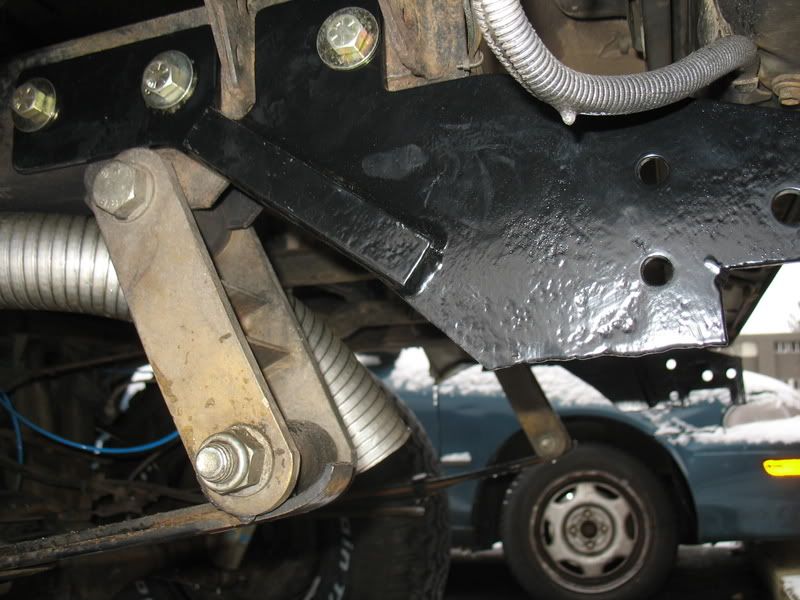
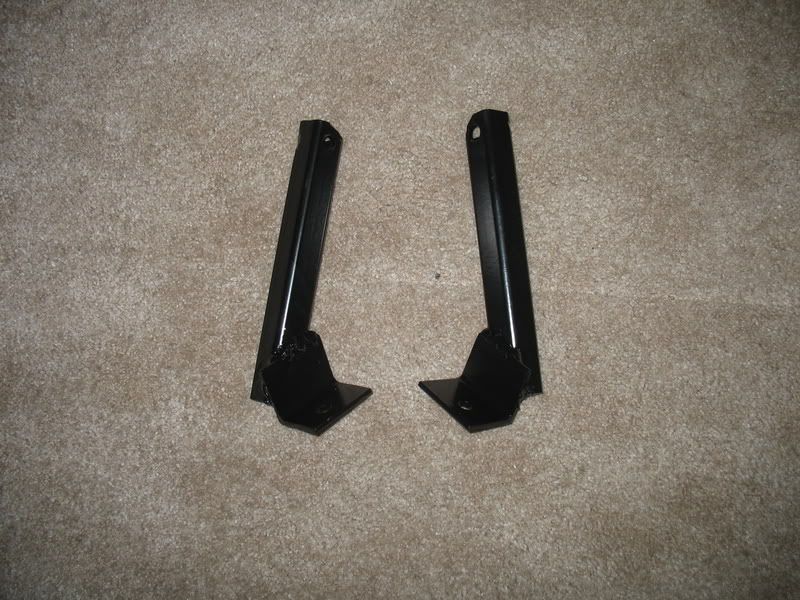
I'm reusing my old trailer hitch brackets. They are 1/4 plate, and already custom cut and drilled to my frame. Plus, they have been super reinforced.
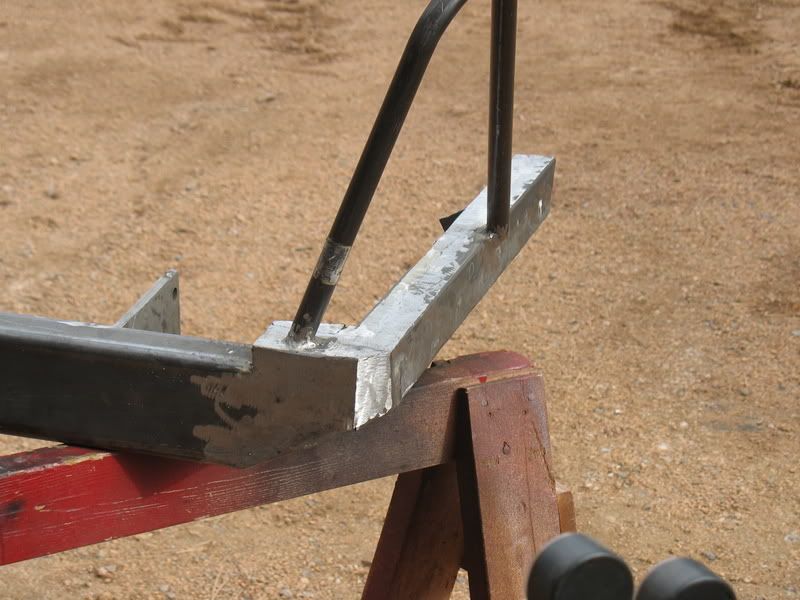
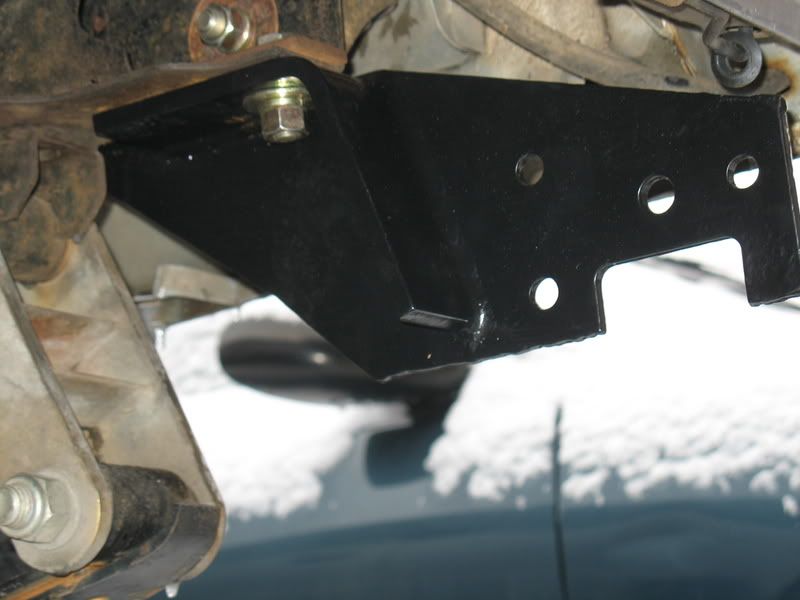
The main beam, lower wing plates, and forward brackets are all 3/16. The top wing tubes are 1/8 because i couldn't find 3/16 in the size tube I wanted. I'm confident it is strong enough. The tabs going to the frame brackets on the bumper are 3/8" uneven angle. Again, I wanted 3x6, and that was the thinest I could get.
The frame brackets are held on with 4, 1/2" G8 bolts, the bumper is held onto the frame brackets with 4 more, and the front wing support is bolted with the same.
I'm *hoping* I won't have any further embarrassing bumper issues. We'll see.
On to the pictures.
__________________________________________________
A DIY bumper kit?
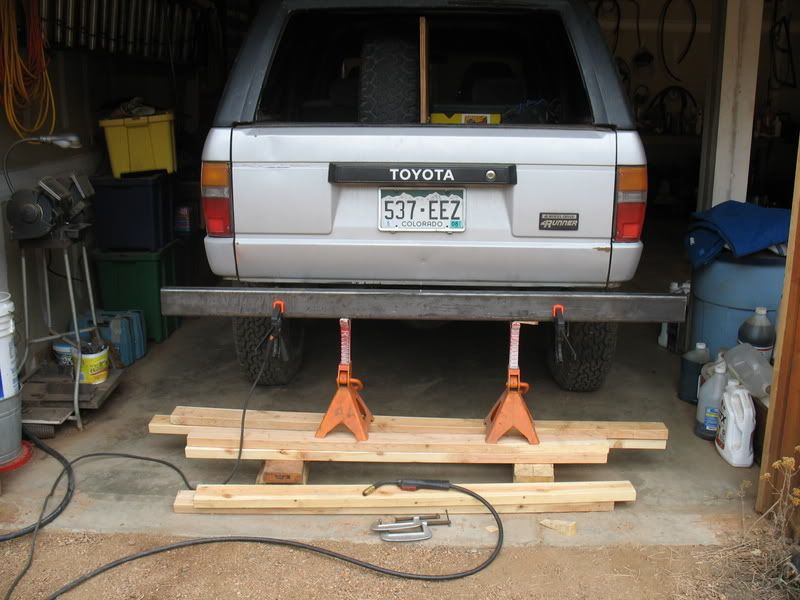
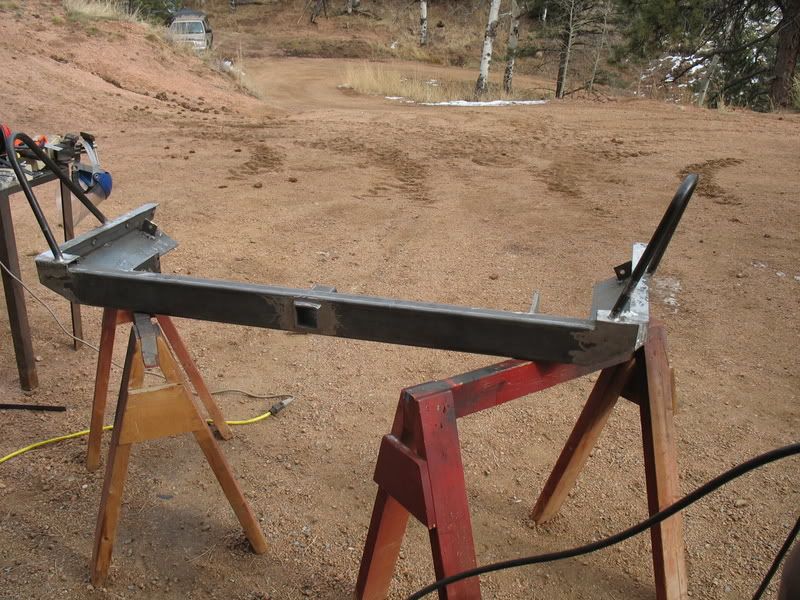
Lining up the main beam. This was the most time consuming part. Measure, move, remeasure, move, measure, adjust...ad nauseum.
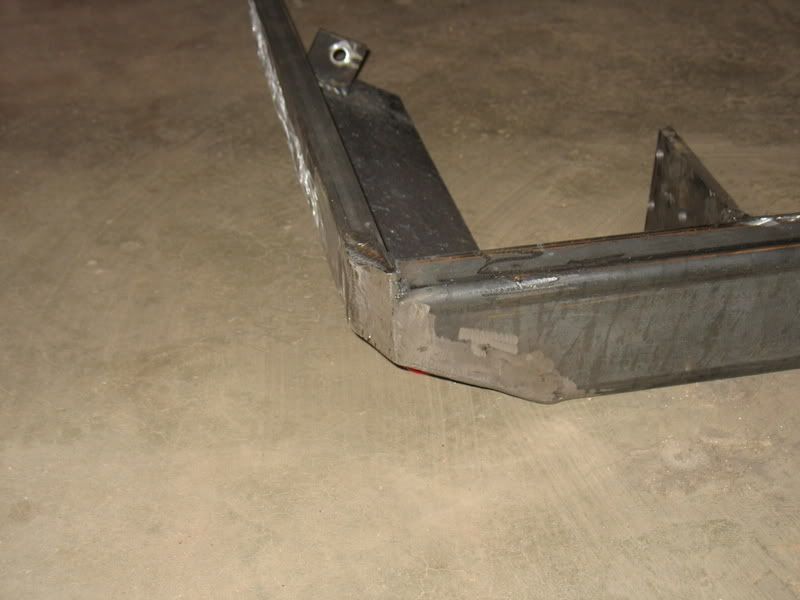
Finally got it straight. I also trimmed off the corners.
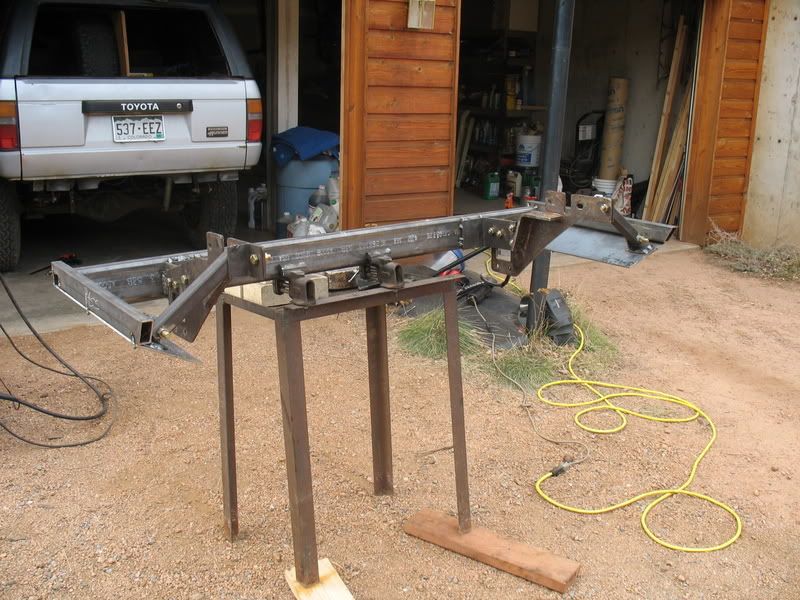
Tacked on the upper part of the wings...
Measuring for the wing-to-frame support, this table is pretty handy.
All tacked up, ready for welding. I bolted everything together to hold the bumper rigid to avoid warping. I also went VEERRRRYYYY SLLLOOWWWWLY to the point of irritation on my part. But, no warpage was worth it.
got scout?
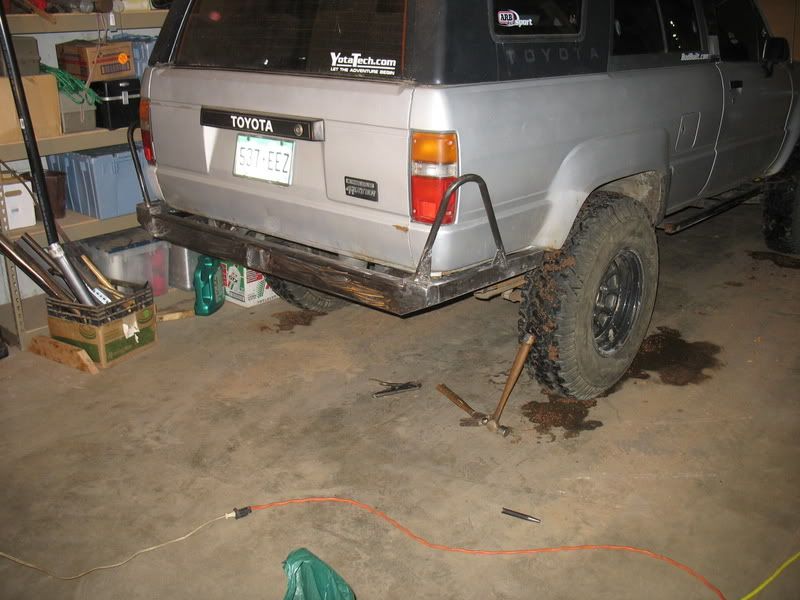
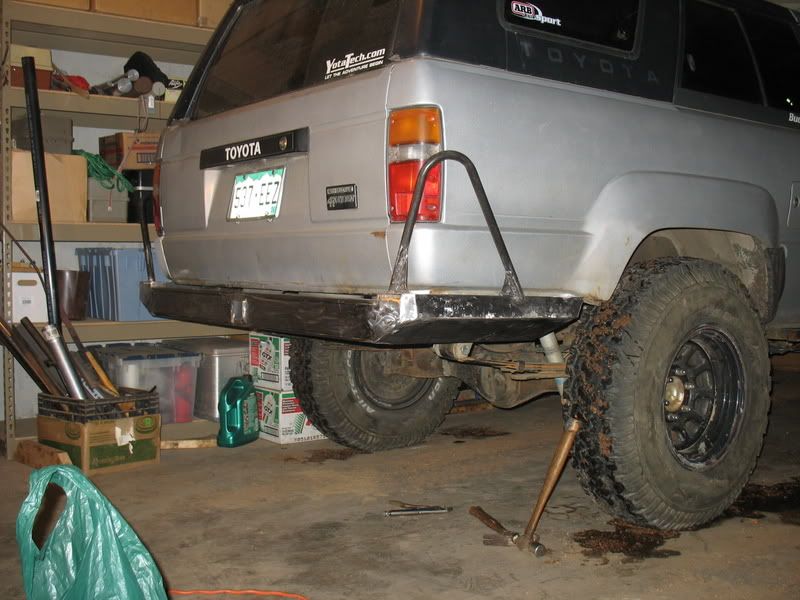
Phase 1 complete....Fully welded.
Phase 2 will be adding the receiver hitch (recovery), as well as the cosmetic welding. Phase 3 will be tail light hoops, and paint.
Stay Tuned....
--------------------------------------------------------------------------
Update:
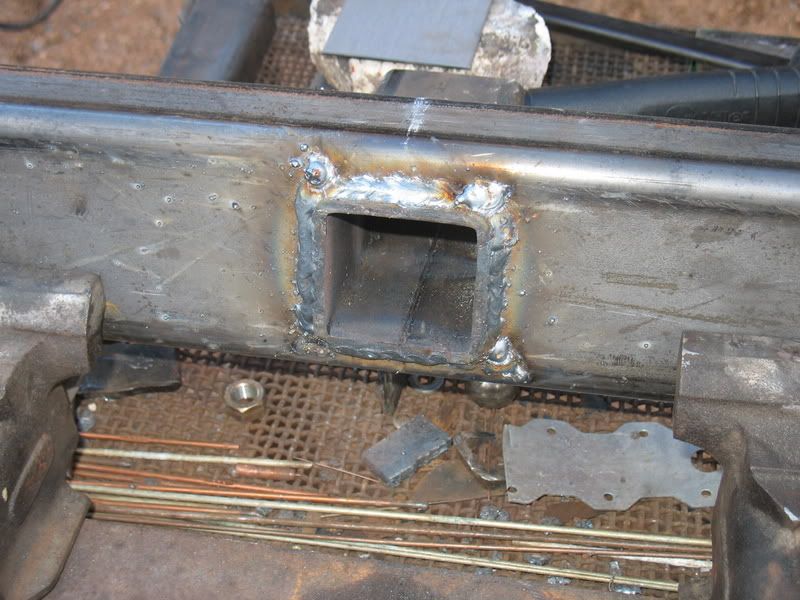
Got the hitch hole cut, the hitch tube drilled, with a minor hicup. Welded fully, with AWESOME penetration. The hicup occurred when I was super stupid, and bought the wrong sized drill bit, the bit I bought being too small. So, after much walleyeing, the pin will now slide into the hitch with zero issues. It was frustrating though, since the drill almost ripped my hands off on more than one occasion.
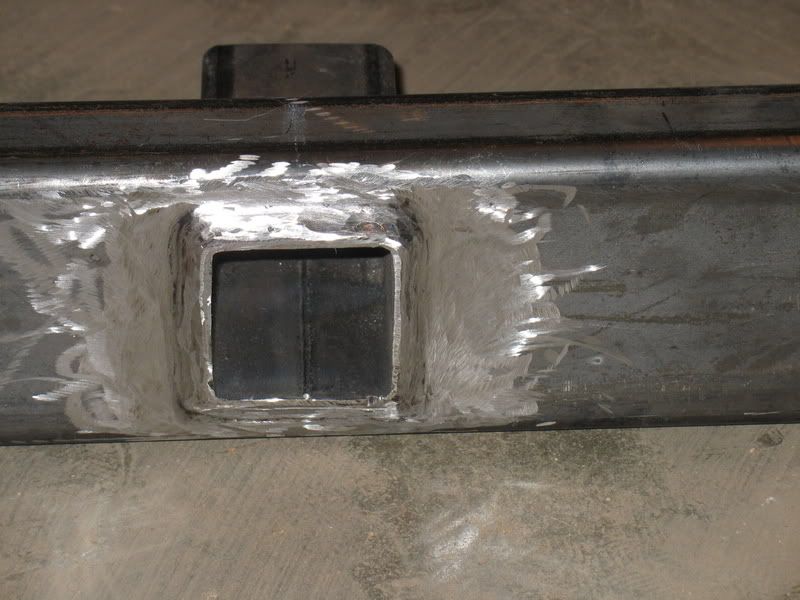
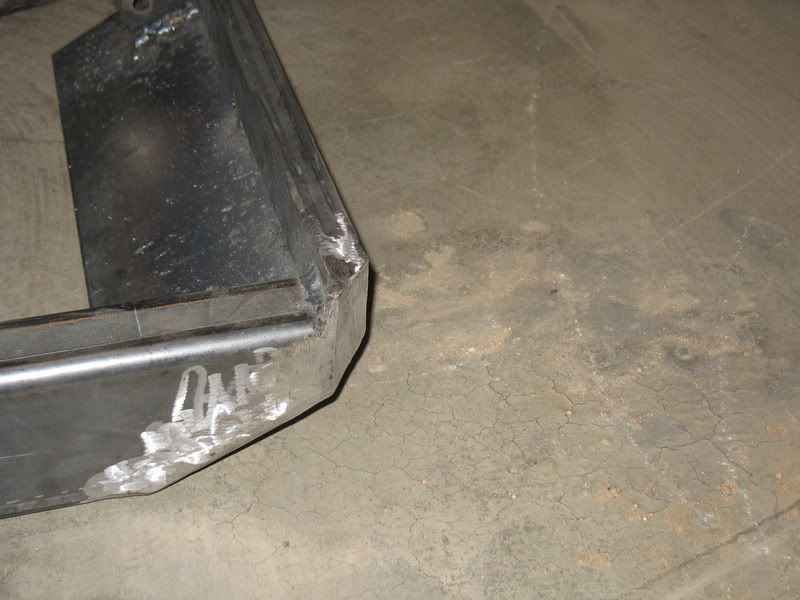
I also got the corners lopped off at a 45 deg angle, and capped, though there was some issue with grinding too much off on the driver side, so now I have a little dimple.Gotta fill it still.
I ground everything pretty smooth, and got the tops of the mounting tabs ground so my cosmetic strip (fills the gap between the tailgate and the bumper) will fit properly.
On to the pics! Sorry there aren't many of the various steps. I was under a pretty good crunch to get this done before the sun set. Normally, I keep the camera outside with me, and I can snap a few here and there, but it was cold enough that the camera kept telling me the batteries were dead, even though they were brand new, so I had to keep it inside. I was only able to get a couple.
__________________________________________________ ________
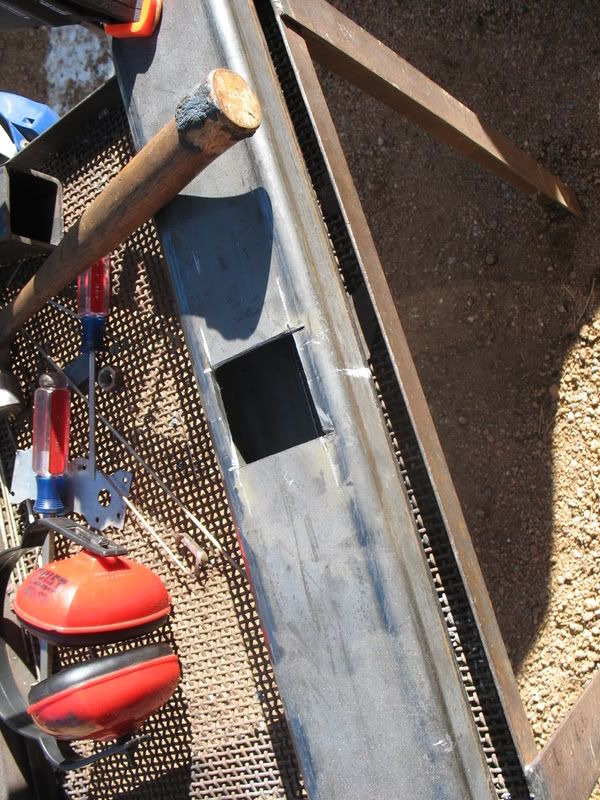
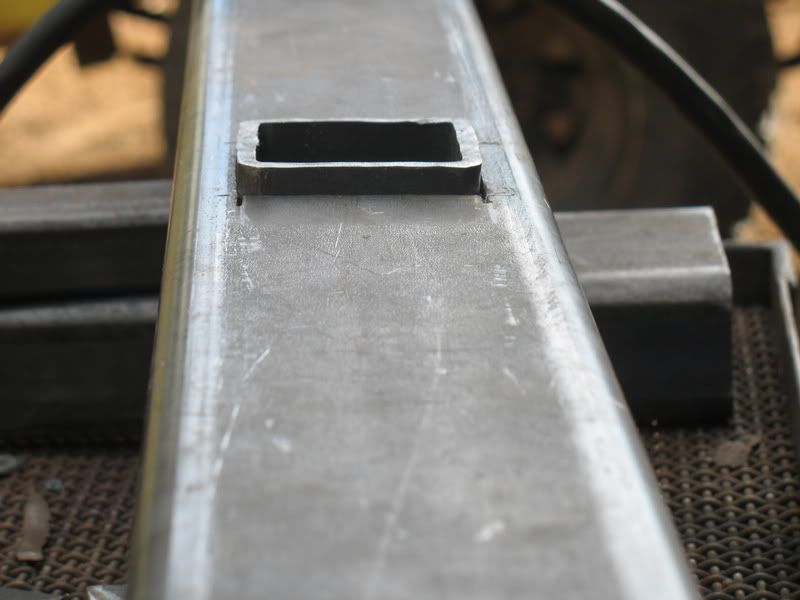
Cutting the hitch hole
Leveling the hitch out.
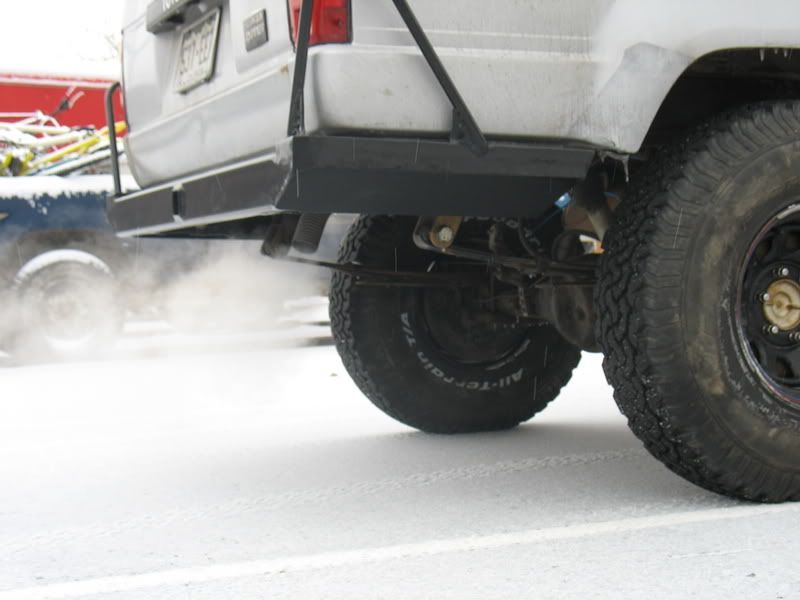
Welded in front and back. Front pictured
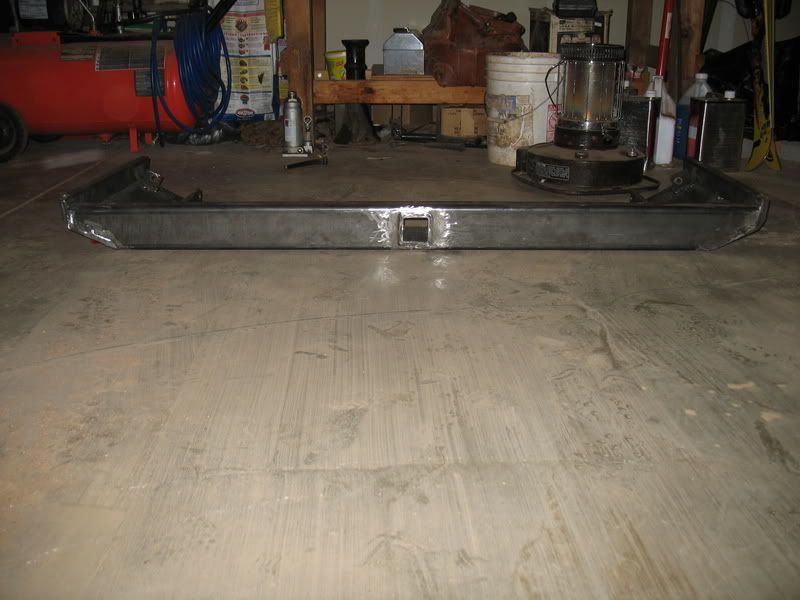
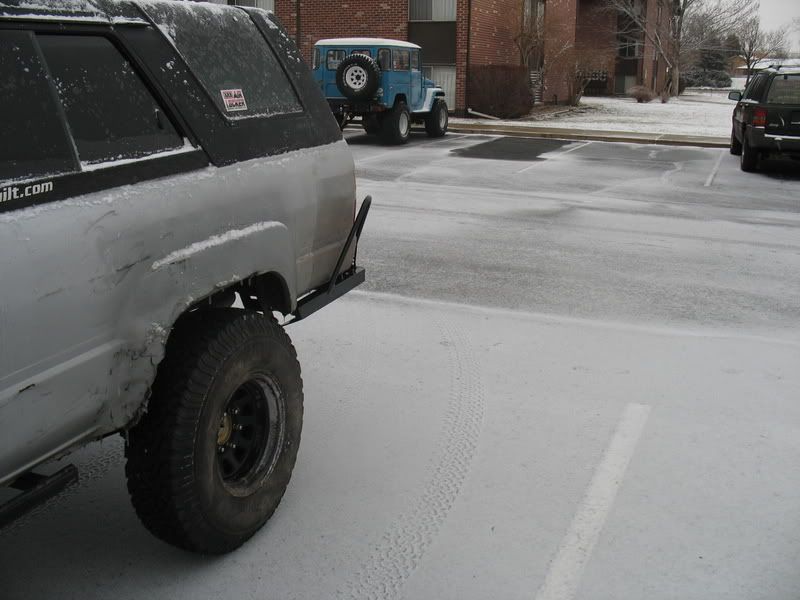
Finished with phase 2. Sitting on garage floor waiting to be loaded for the trip to Boulder.
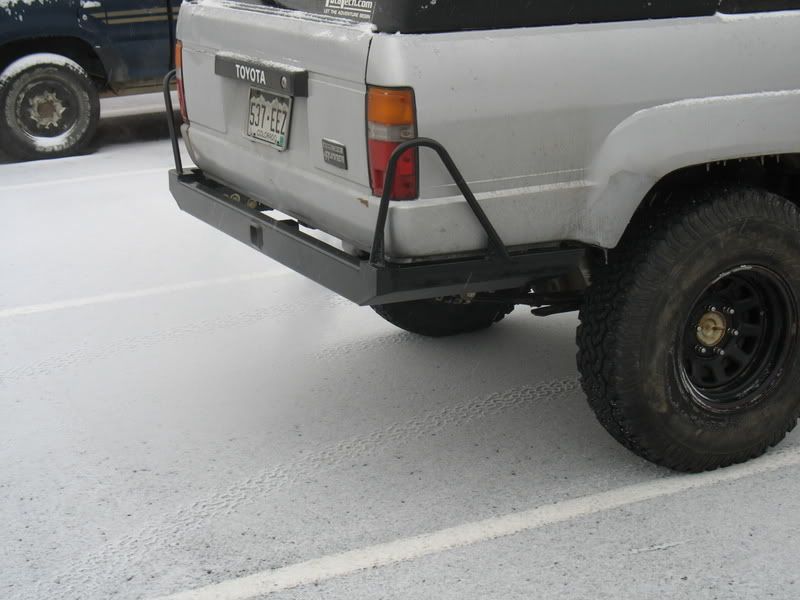
Close up of front of hitch.
Corners cut. Purely cosmetic, but I was trying to make it look a LITTLE less like a box.
Backside of the hitch.
-----------------------------------------------------------------------
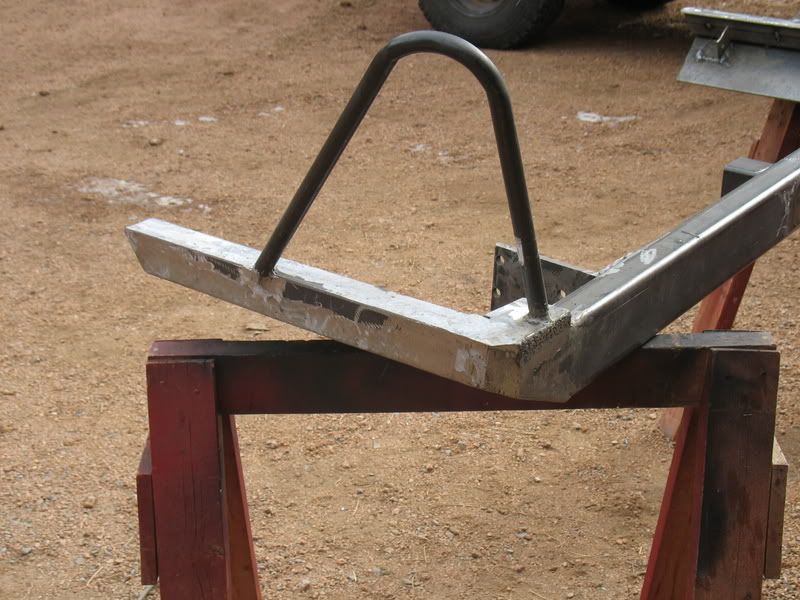
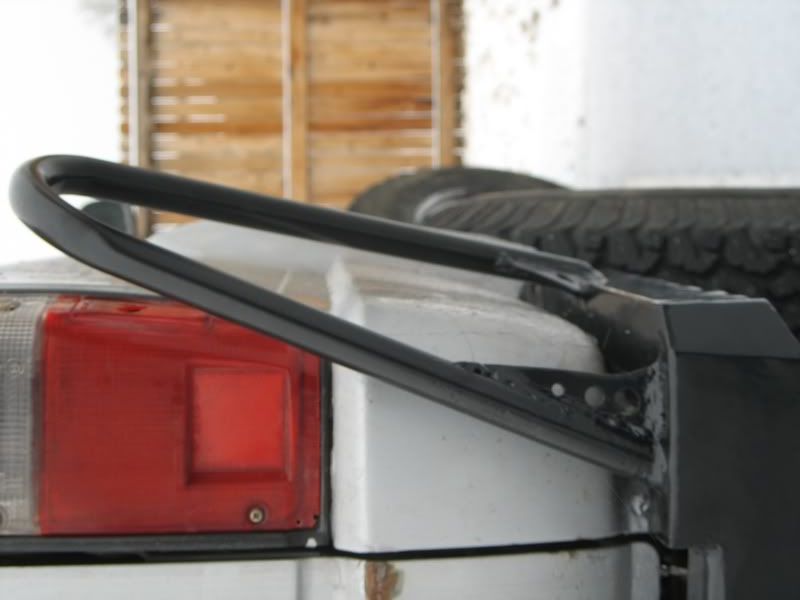
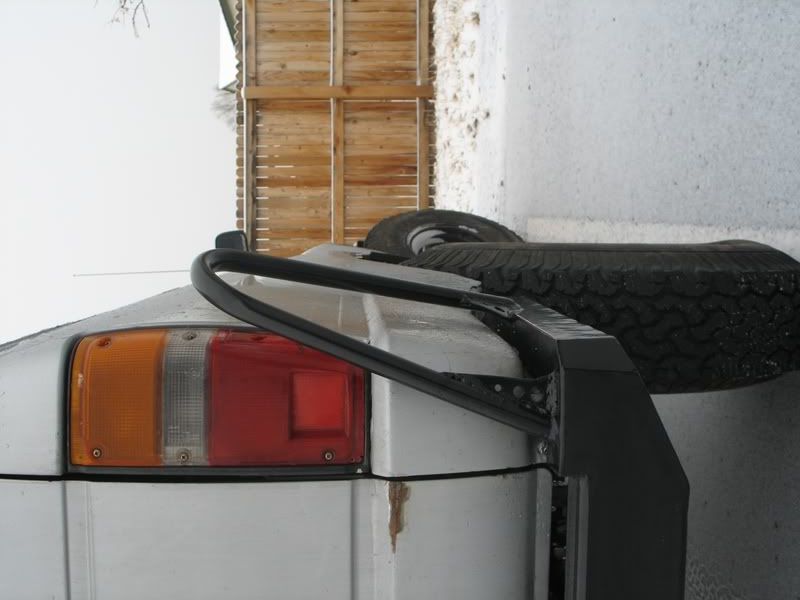
Making the Tail Light hoops
-------------------------------------------------------------------------
Update.
Essentially all i did was add trim and make an attempt at some "cool" gussets. A design flaw meant that no trim was added on the main beam, but I actually kind of like the look still.
I'm getting this thing coated flat black, which hopefully will hide some of my more salient screw ups. Mostly the scalloping of the grinder.
Thanks for watching! :thumb:
__________________________________________________ _______
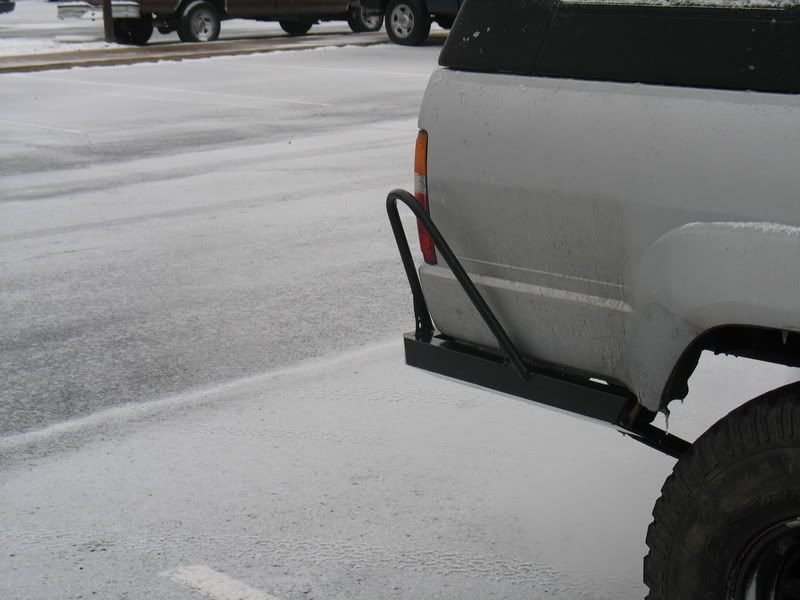
Trim added, shot of the hoops
overall bumper
Passenger hoop
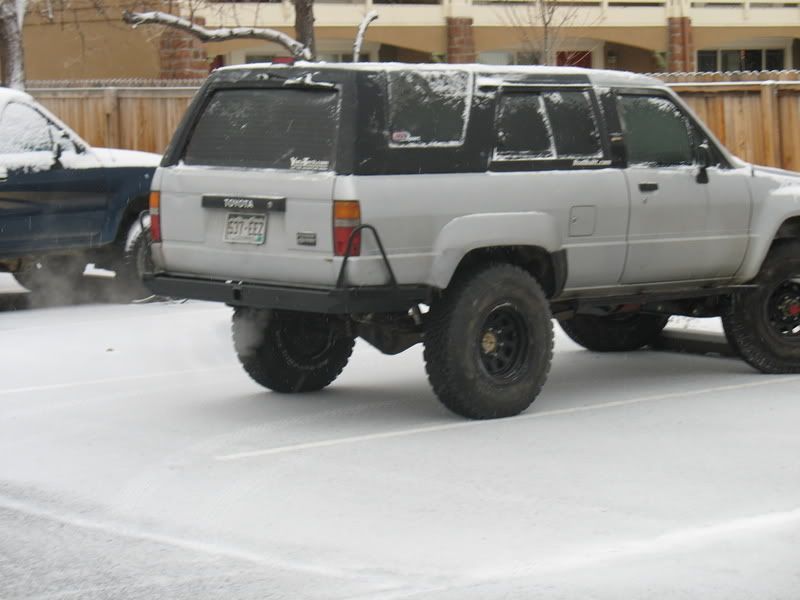
And the finished product. Sorry no driver side pics, but the truck was pulled in funny and it was snowing like the dickens outside.
----------------------------------------------------------------------
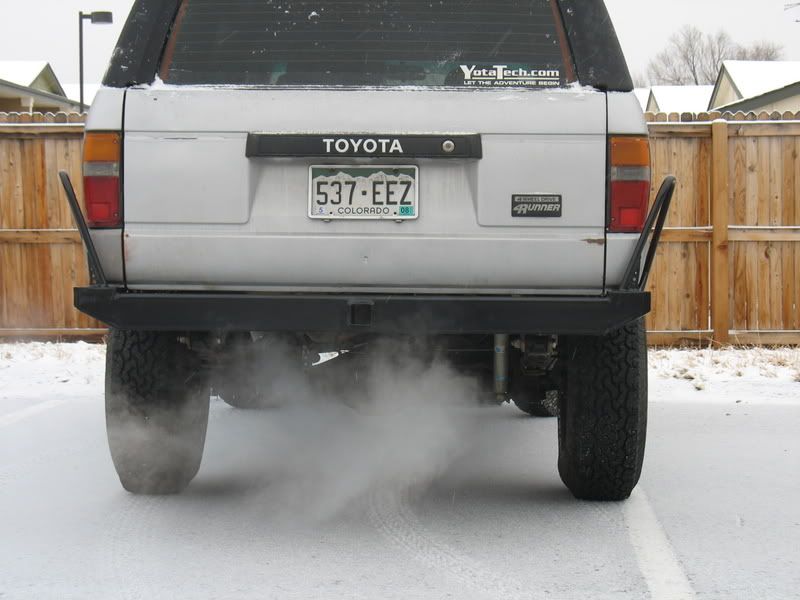
And Its DONE!!!
I am EXTREMELY pleased. The powdercoat looks AMAZING. I will be posting a thread about the guy I used, as I am so unbelieveably pleased with his work and his price that I'd love to give him as much business as possible. Simply can't say enough good things about the place.
I have put black silicone on the seams on the insides of the bumper, to help protect against rust from water working its way up under the trim pieces. So, my whole place smells like gasket maker, which is a smell I detest. UGH!.
I'm well pleased.
Here's the pics!
Bracketry
Bumper!


 Reply With Quote

