Finally I was able to get some pics tonight. There are a bunch so that you can have some comparison with my stock lights.
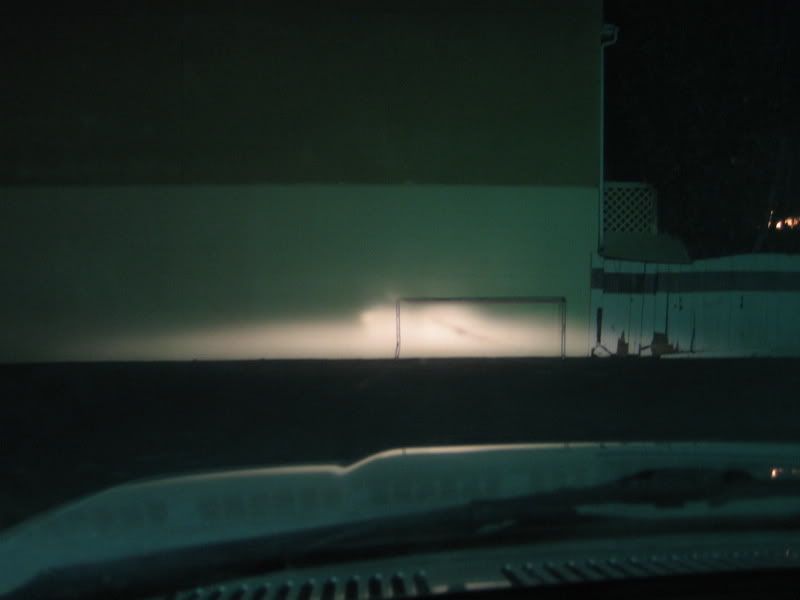
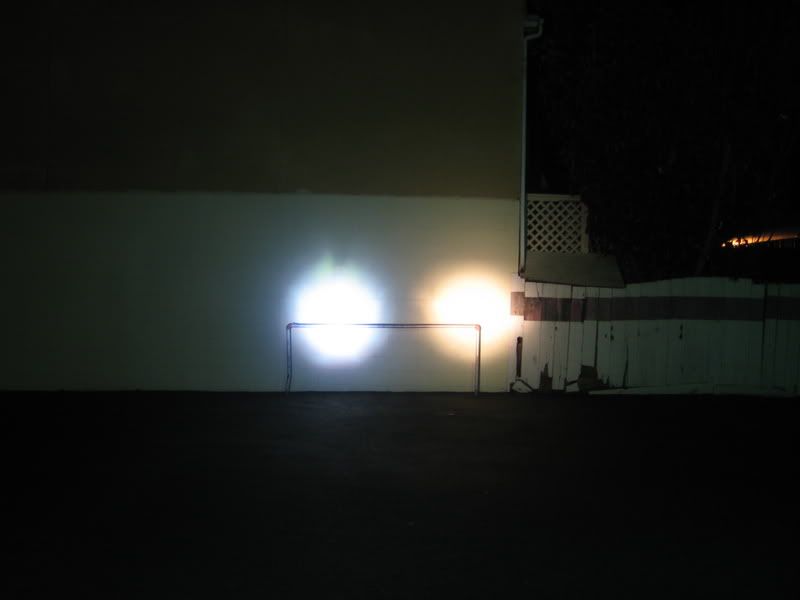
This wall was about 40 ft. away, and the camera was on the same setting and shot through the windshield. The last comparison shot was taken from outside the vehicle due to the hood being up to hook up the other 170.
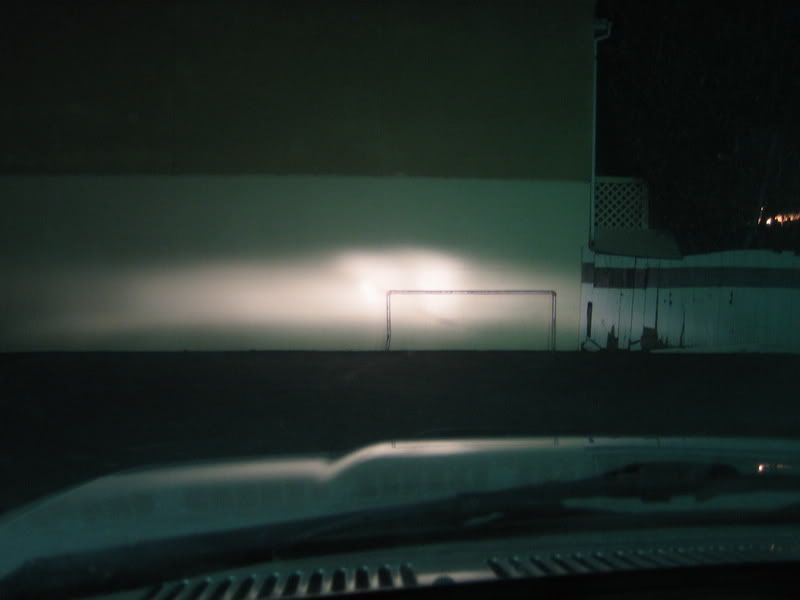
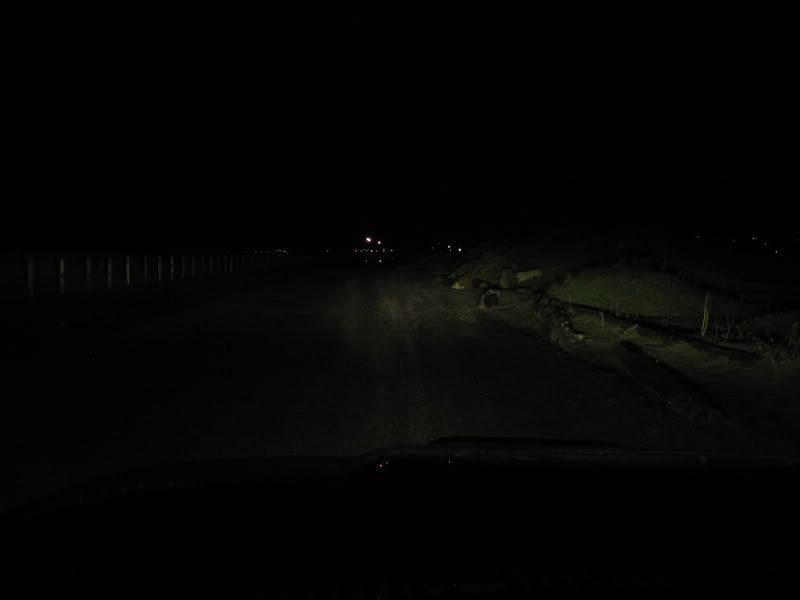
Low Beams:
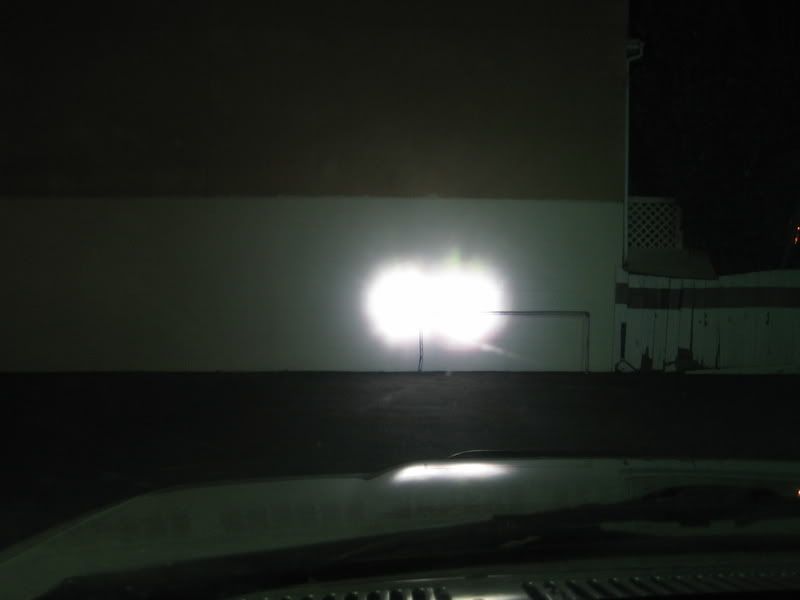
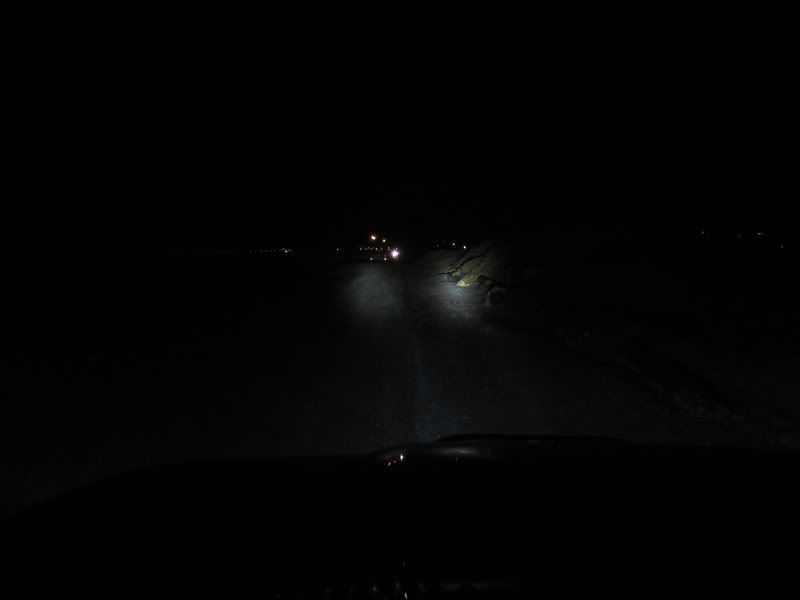
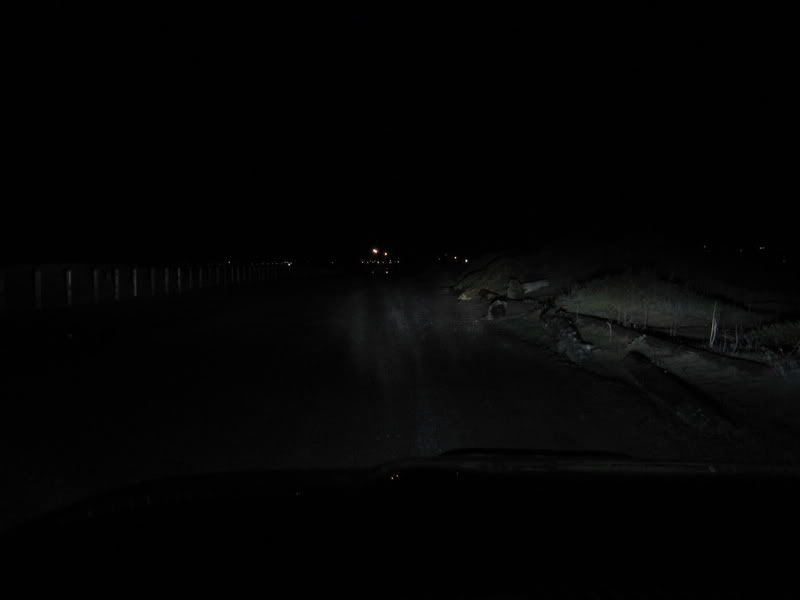
High Beams:
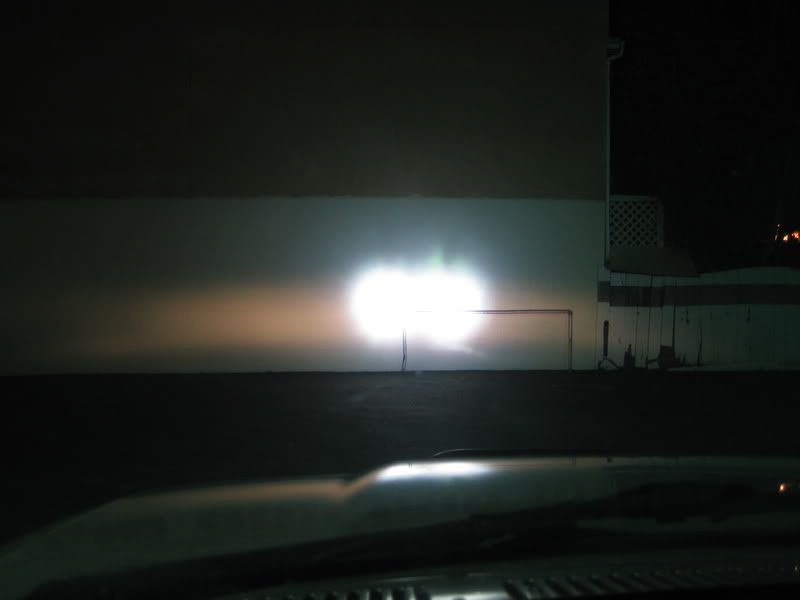
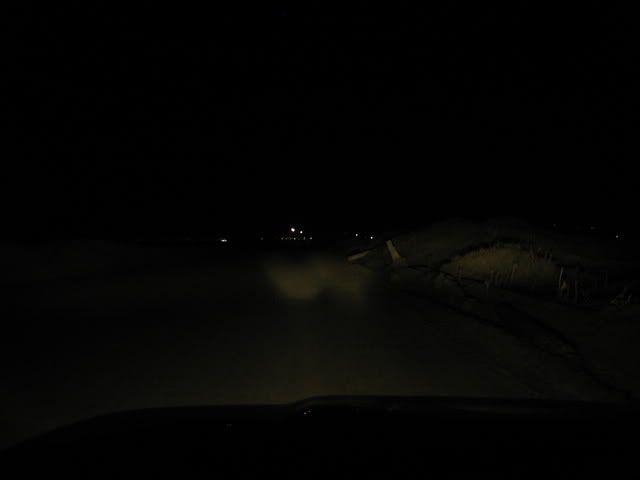
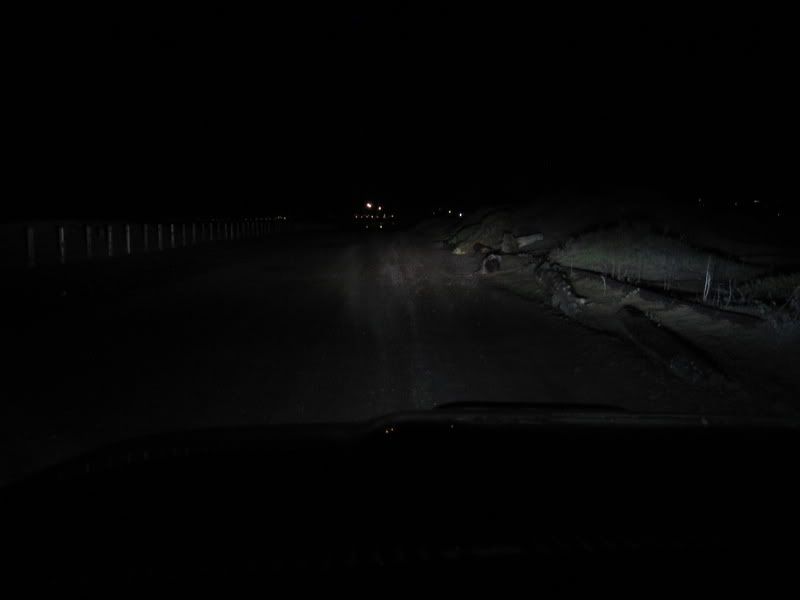
170 HID's Spot: (I have adjusted these away from each other since I took these pics)
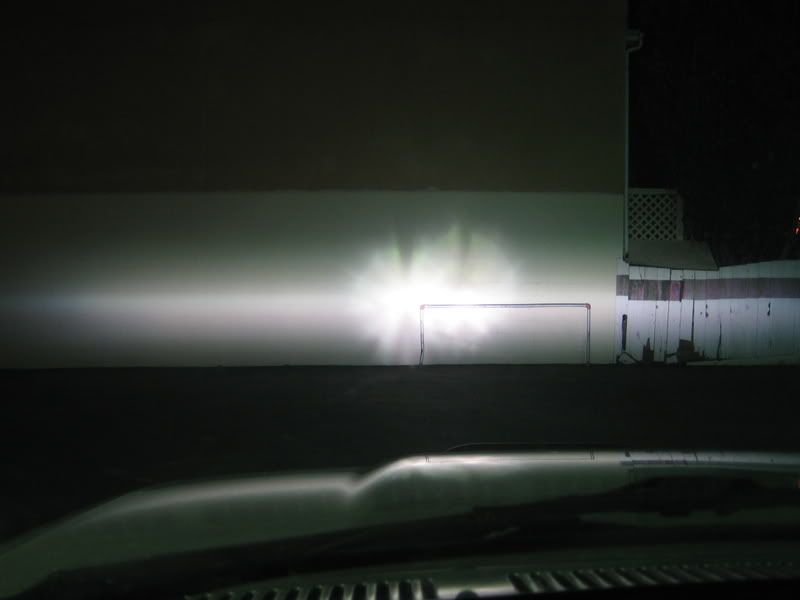
High Beams and 170's:
170's with "clear combo" filters:
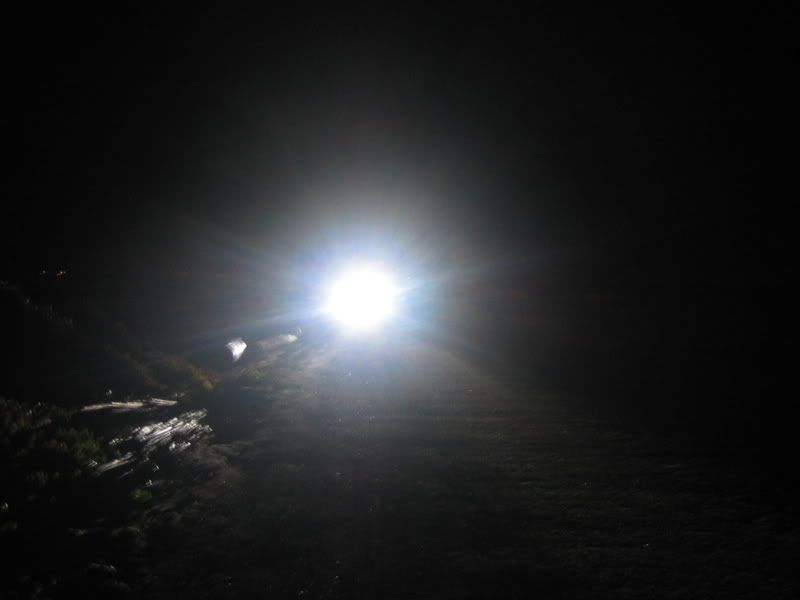
170 35watt HID on left vs. 170 100watt halogen on right:

 Reply With Quote
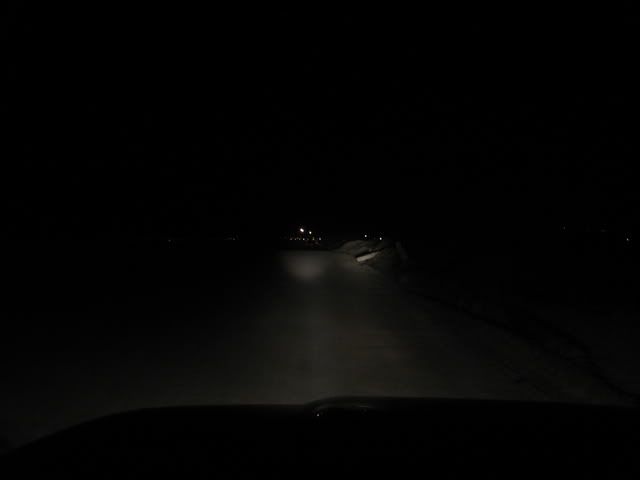


 I'll try it again later. Let me know what you think.