Wow...very cool! I love this build thread.


Wow...very cool! I love this build thread.
-Daniel2000 4Runner Sport | V6 | 5spd | 4x4 | Leather | 265/75-16 BFG AT/KO | OBA | BudBuilt front skid
1990 4Runner SR5 | V6 | Auto | 2wd | 3.90 rear | Cobra CB | 265/65r17 Bridgestone Duelers H/Ts | '08 Tacoma 5 spoke rims | Has an 11:1 crawl ratio! SOLD
You know I'm gonna ask why you cut the frame including the vin stamping, right?
Colorado's more leniant than California? We have to plate it w/ an open spot showing the original stampings.
I've already had the vin id'd, and legalized here. Generally, they just check the vin on tha dash or in the door out here. I had to show the guy the one on the frame.Originally Posted by NorCalBorn
However, I am going to cut out and weld the vin plate back onto the new frame once its done, just in case.
Thank you!
-I love you.-<br /><br />1987 BigWheel
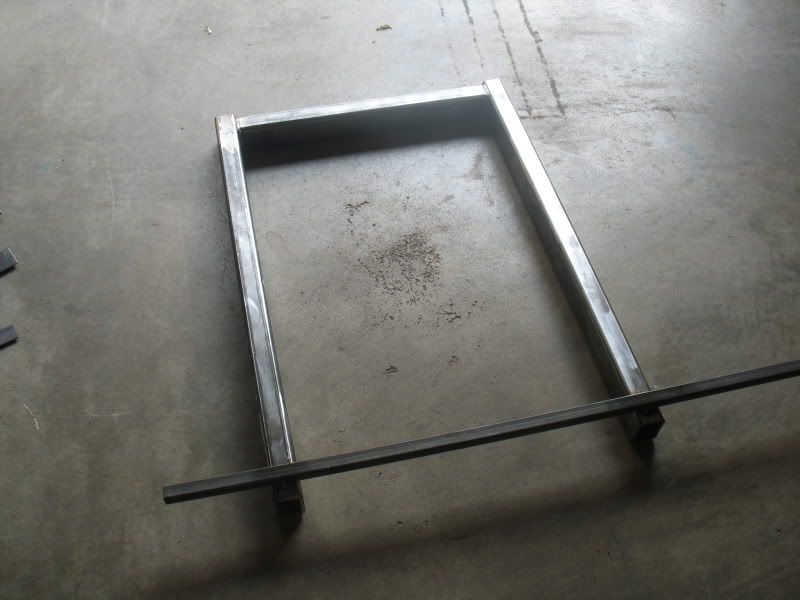
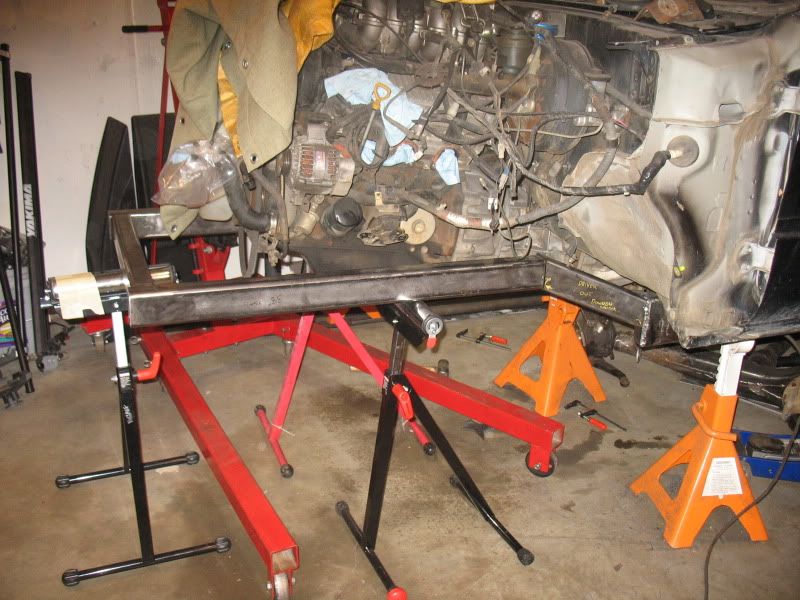
Here is the short progress I made yesterday.
This is essentially the new frame from the firewall forward. The cross piece of 1x1 is just to hold the whole thing square during welding.
This is the same width as stock, but will be around 3-4" higher than the original (depending on what part you measure from, the stock frame is curved.)
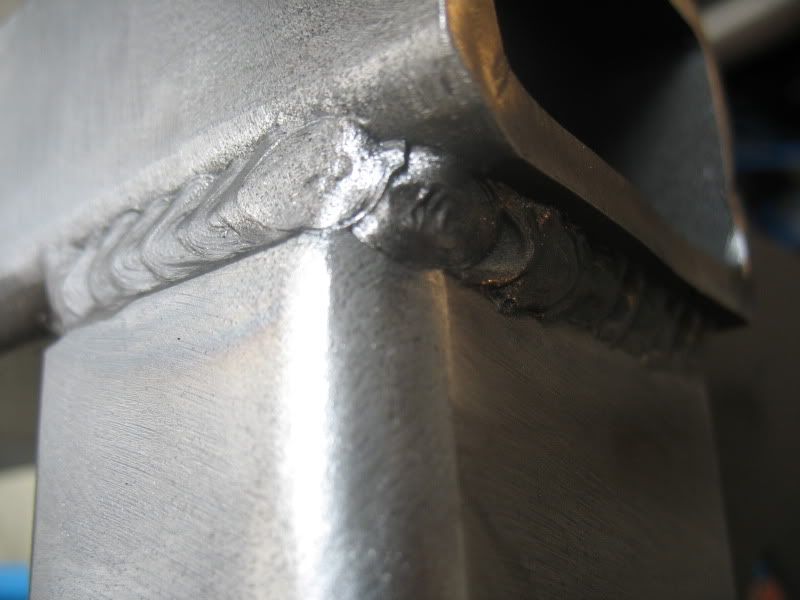
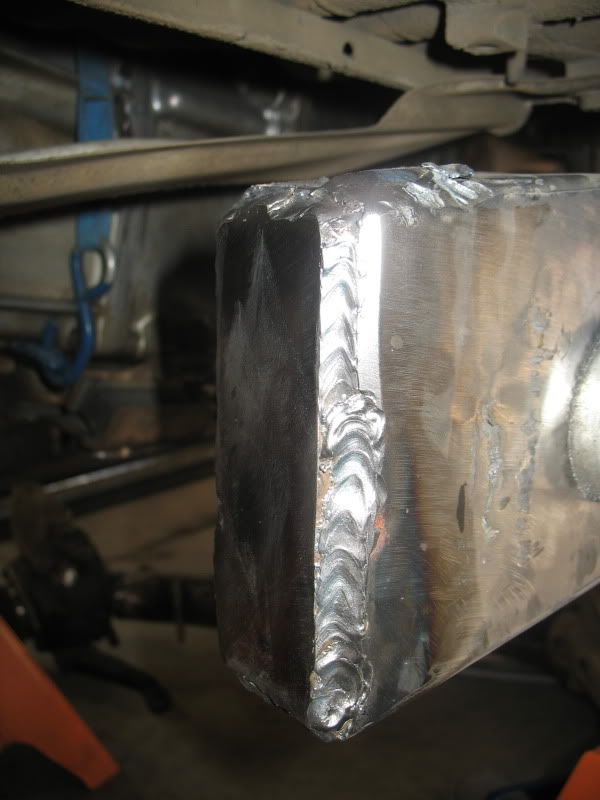
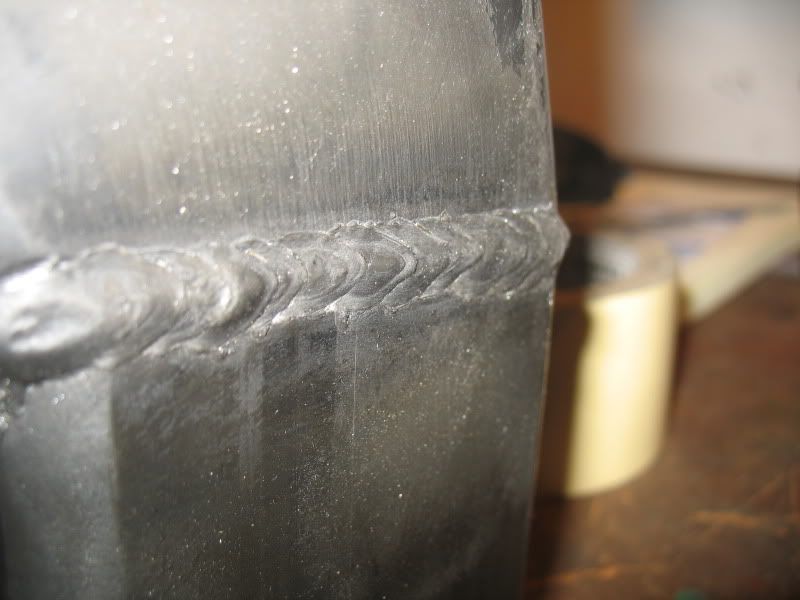
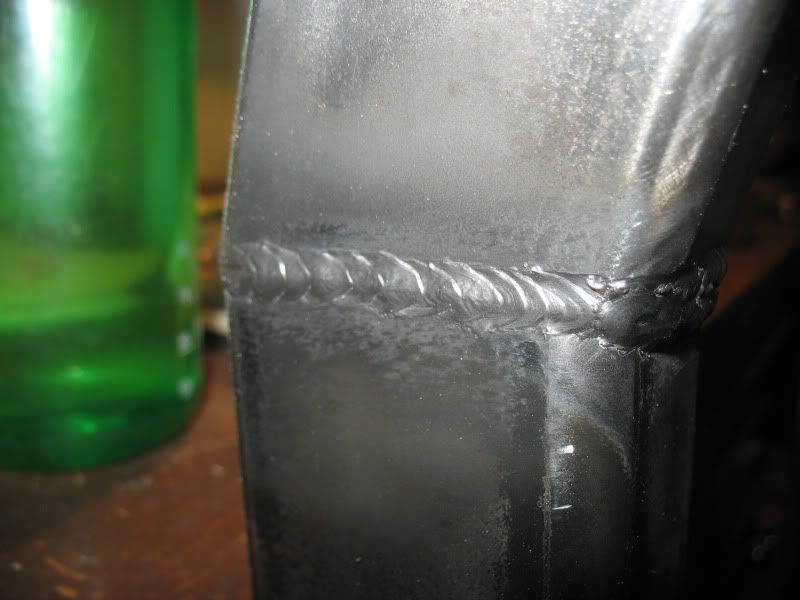
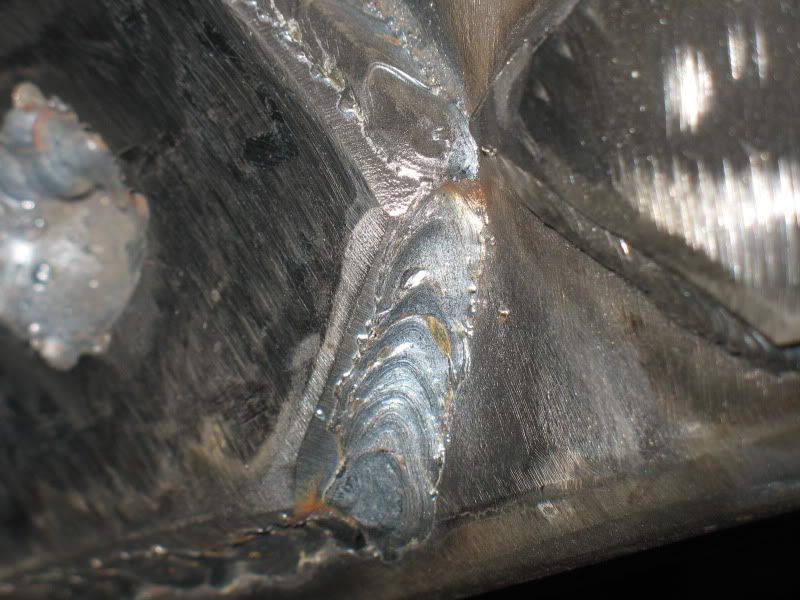
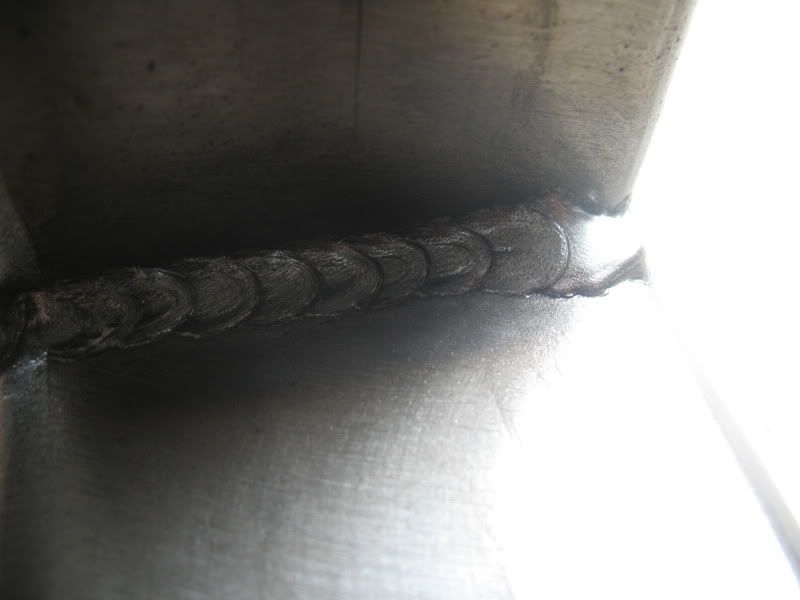
Here are my welds. I feel like I'm getting better, but I am still having issues with getting a very consistant electrode stick-out. I wander a bit in and out, which makes, I think, for the the slight irregularities in the bead. I also seem to be better at welding longer sections, on the inside of a joint, rather than on the outside seam.
Here, the center, front piece, was beveled at as close to 45 on all sides, and was set back just slightly from the front to give an adequate weld surface for my rather newb technique. The side pieces were simply prepped to bare metal with a prep disk, and wiped off clean with a towel.
The slight "shine" you see is my anti-spatter spray. I don't know what exactly I'm doing wrong, but I get TONS of spatter, and with 1/4", the welder is as high up as it goes. Wire speed adjustment seems to get me nowhere. The spray makes it manageable after you hit the welded areas with a wire wheel/brush.
I'm currently using the circle, pause, circle technique, where I am pushing the puddle, I make a circle/oval up the seam on one piece, curve through the seam, back into the other piece, and back to essentially the center of the circle. Then, pause, then move forward with the next. Its more like a swirl motion, so the bead moves along. Part of the issue is that I'm not yet hitting circles, and I generally sit more on the oval side.
Critique's welcome.
-I love you.-<br /><br />1987 BigWheel
Spent a bunch of time running around today, but did get some work done.
I also spent a bunch of time on the belt sander. Takes forever, but gets good, clean angles. Wish I had something better than I do, but it works.
Anyway, just starting to mock things in place. The first thing I did was cap the ends of the frame with some 1/4" plate. I practiced some welds going vertical and overhead before trying this. They came out okay. The issue I had was that my practice welds were 1/4 to 1/4, and this was 1/4 to 1/8. Here is how they came out:
Anyway, I'm not too worried about them because after the new frame is in place, all weld joints will be getting plated over.
I am still fighting angles and getting the main frame mocked up with connection pieces to the old. I seriously need a second me to hold the tape, and help think through this.
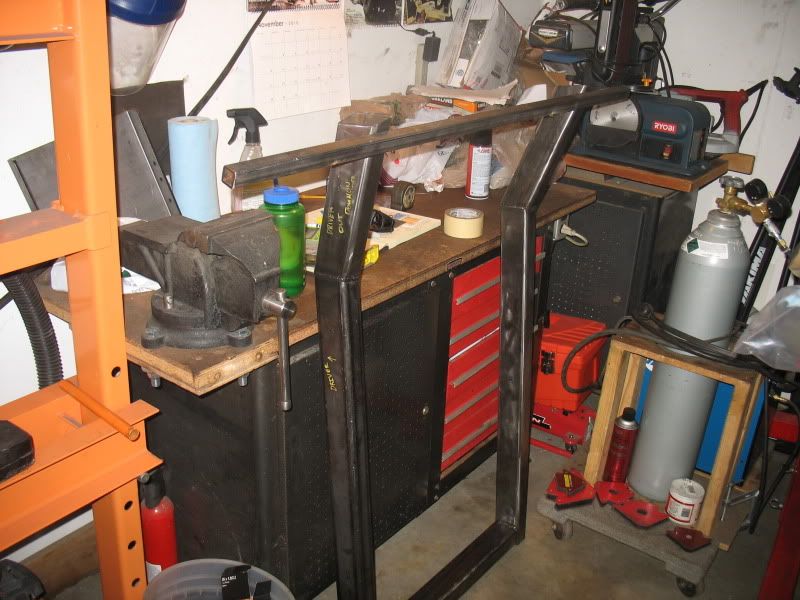
Here is where I ended up this evening:
Hopefully better progress tomorrow.
-I love you.-<br /><br />1987 BigWheel
Spent most of yesterday re-measureing and re-cutting and re-sanding all the angles. Even though the belt sander is slow, it does get the correct angles very nicely.
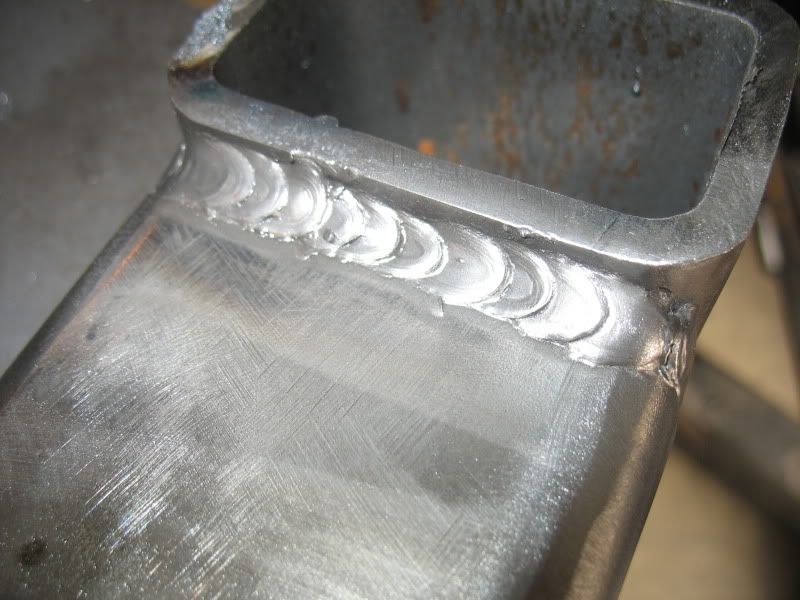
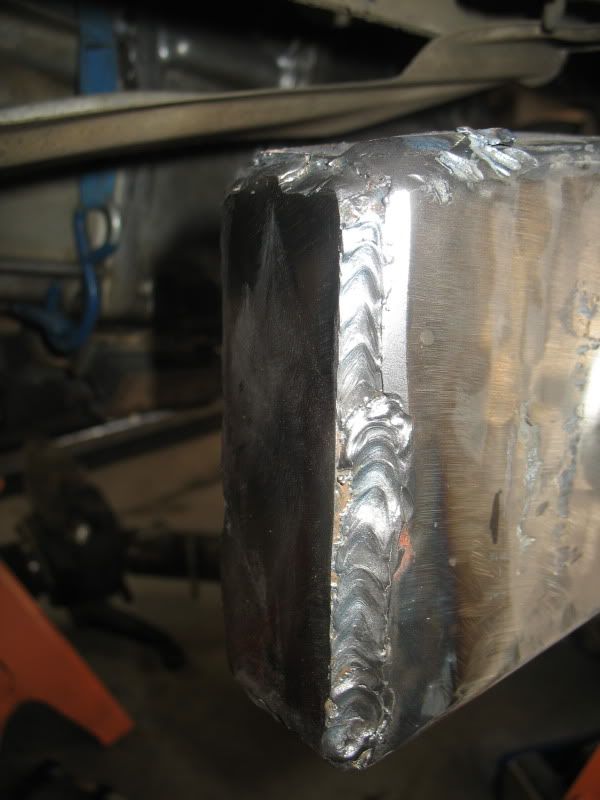
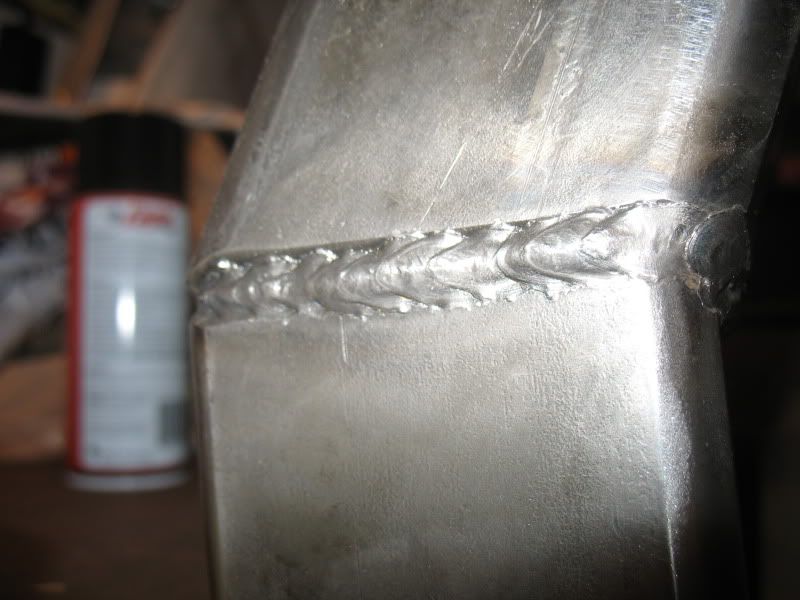
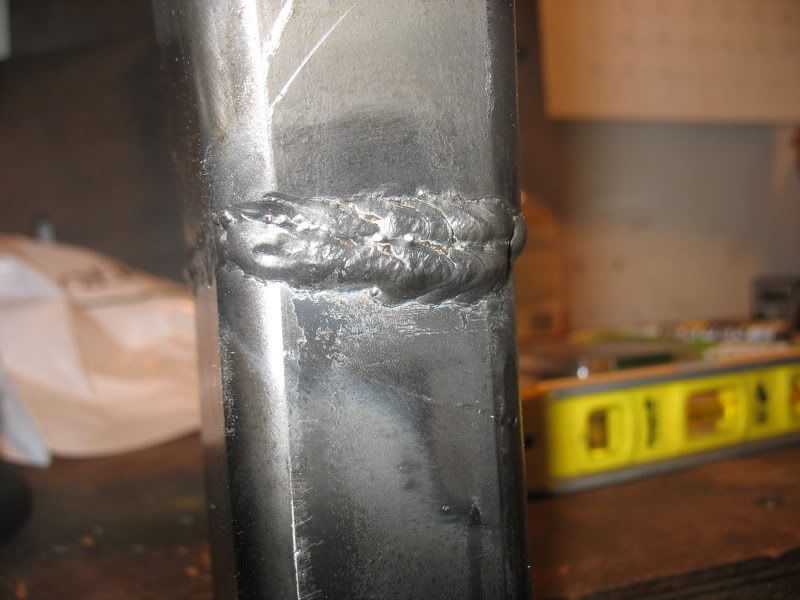
So, I got the drop sections of the frame welded up:
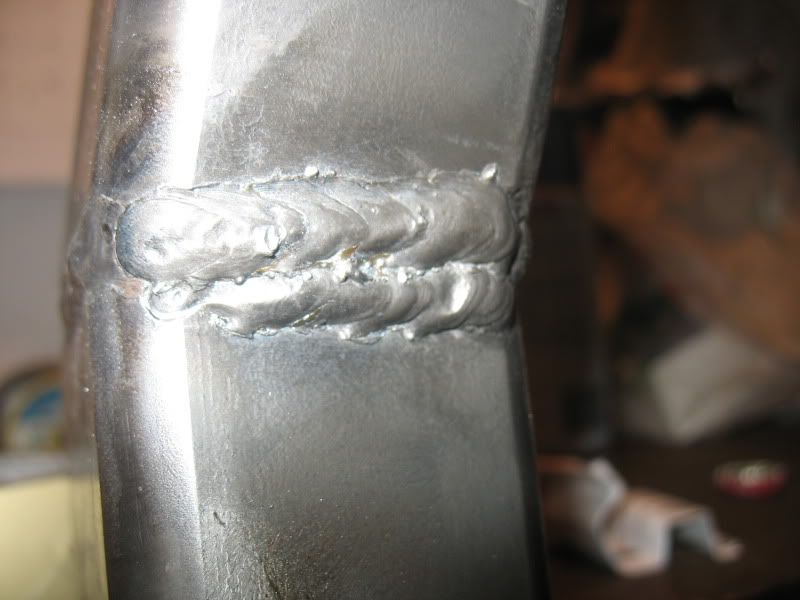
And I worked on slowing down my travel speed, but, IMO, the welds seem worse. Still structurally sound, but not "stacking" as I would prefer. The only thing that got ugly was when I went to try triple pass welds on on the bottom side. First one layed in the beveled area nicely, but it was too deep, so I welded one pass on the one side, and then a third on the other, and it came out crappy.
Anyway, a couple shots:
Sides:
And the multi pass garbage:
-I love you.-<br /><br />1987 BigWheel
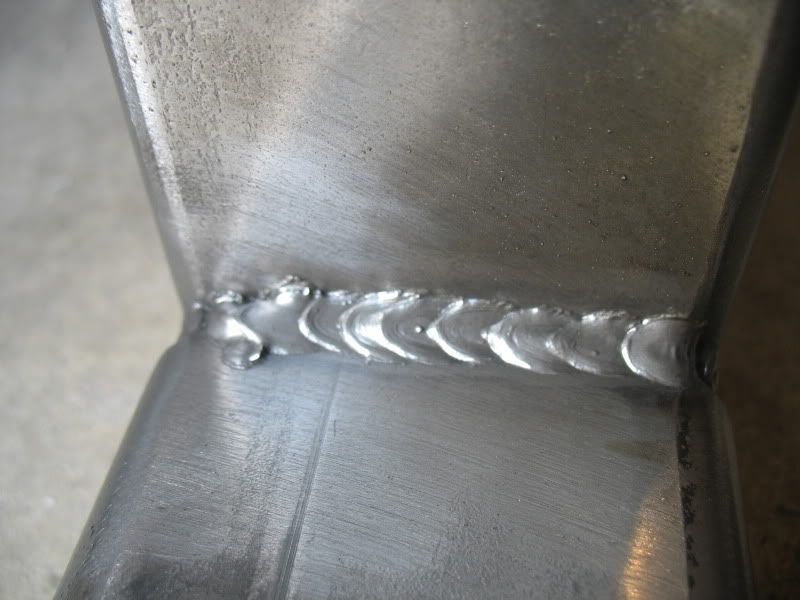
IMHO here, they look like they're setting up too fast, turn the amperage up a little bit, or shorten the stitches up a little bit to reduce the oval shaped puddles.
Reasons I say this..
~Long, oval puddles.
~Puddles are not set into each other enough, as in the puddle you just did cooled a little too long before you started the new puddle causing them to "hitchhike" rather than "stack like dimes/nickels".
~Material's not filling in the v-notches to the top like you want them to requiring more passes.
Try it out on some scraps and let me see what you get, again, turn up the juice just a little bit, but keep the feed the same speed. This will give you a little hotter puddle and inherently a smidge more time to play around with some room for error.
*Also consider* What's the room temperature you're welding at, as in is it a bit cold and the steels been sitting on concrete all night/day and is also cold contributing to all of this.
Well, one issue there is that I cannot turn the welder up any higher. It is already at its max voltage. I really need a 212, but this is the MM175.
I will try to shorten up the puddles and the stitches though, thanks for the tip! I'll likely not get a chance to try until later in the week or this weekend, but I'll post up.
Cheers!
-I love you.-<br /><br />1987 BigWheel
Back at it Saturday before a neighborhood wide power outtage ended my day early, Today was spent with the father in law, which is always a good time, so not a bad thing at all.
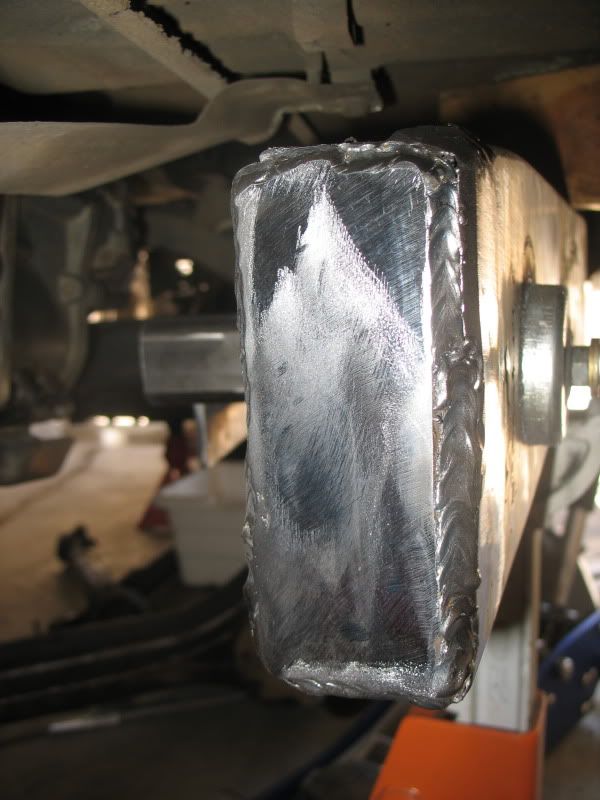
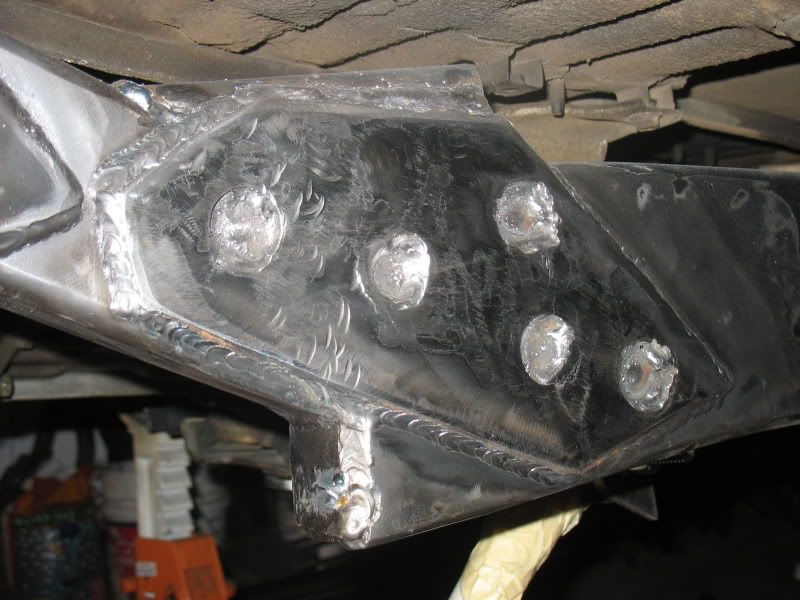
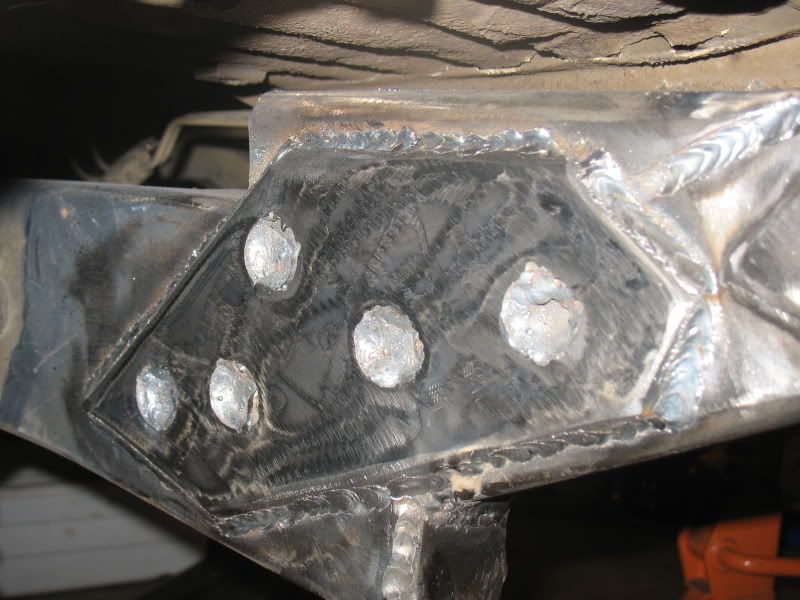
Over the last few weeks, I got the frame plated over the seam. I plan to add additional support once the front end is done, but I temp mounted the engine, and then lifted the front end with the cherry picker and there was zero deflection across the seam
I'm getting better on flat welding, but with how things were supported, a few of these were REALLY out of position, and very hard to see. I'd say this is pretty typical:
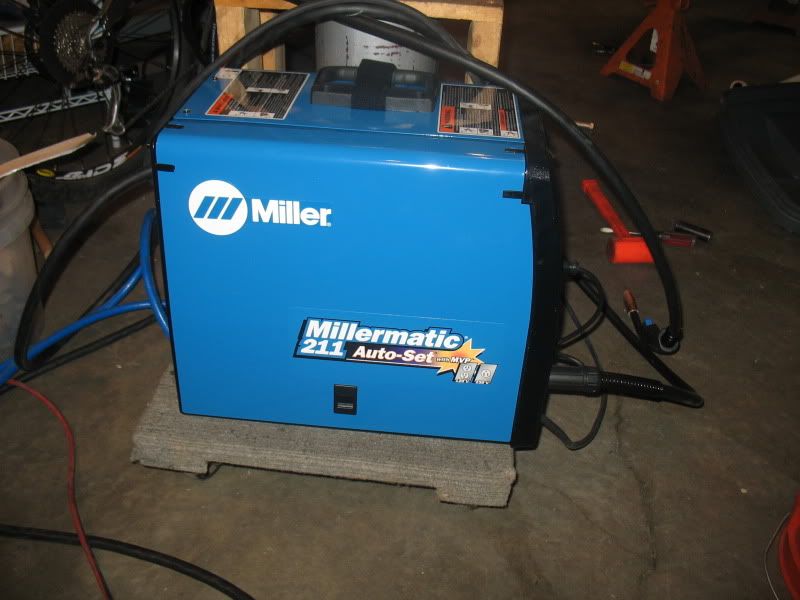
After that, I decided that I wanted a bit more power, so I traded in the 175 an got a new 211.
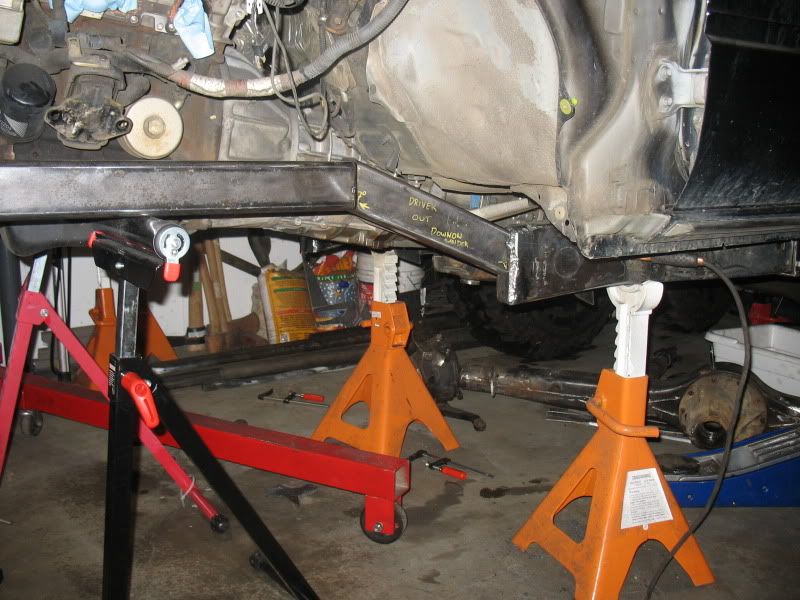
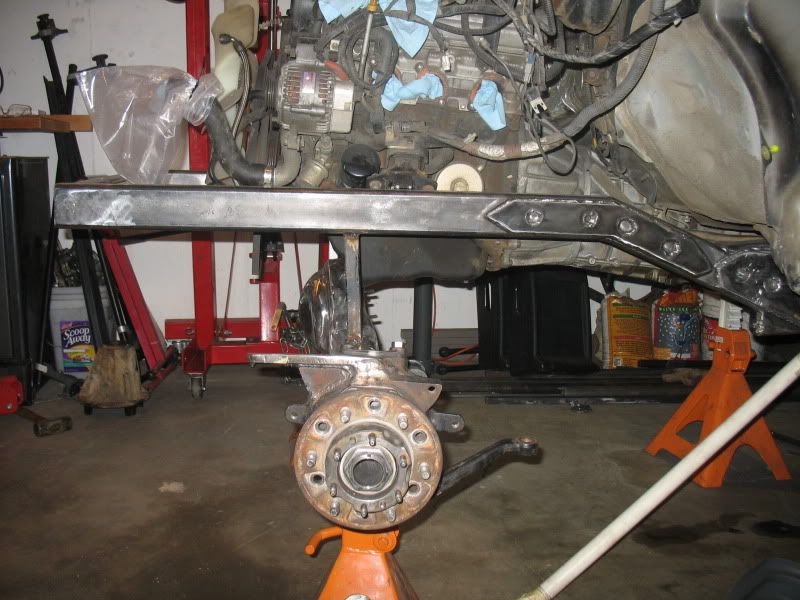
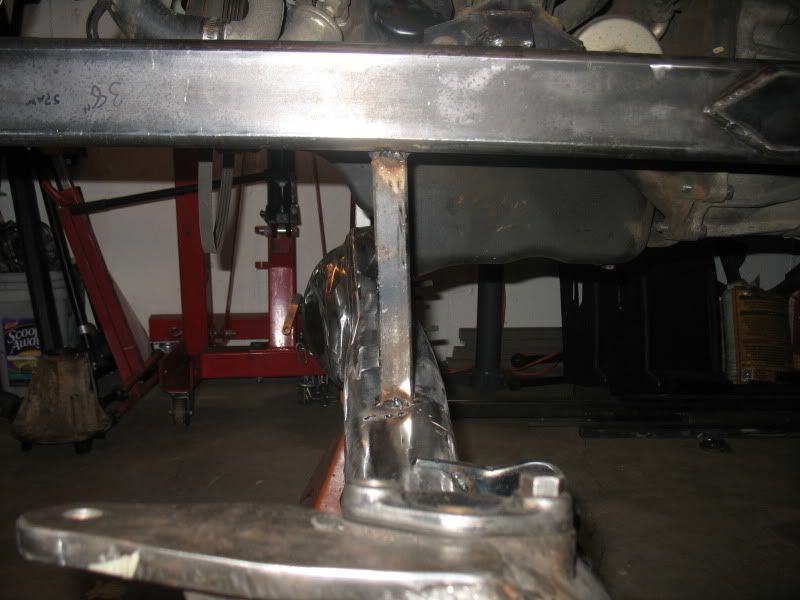
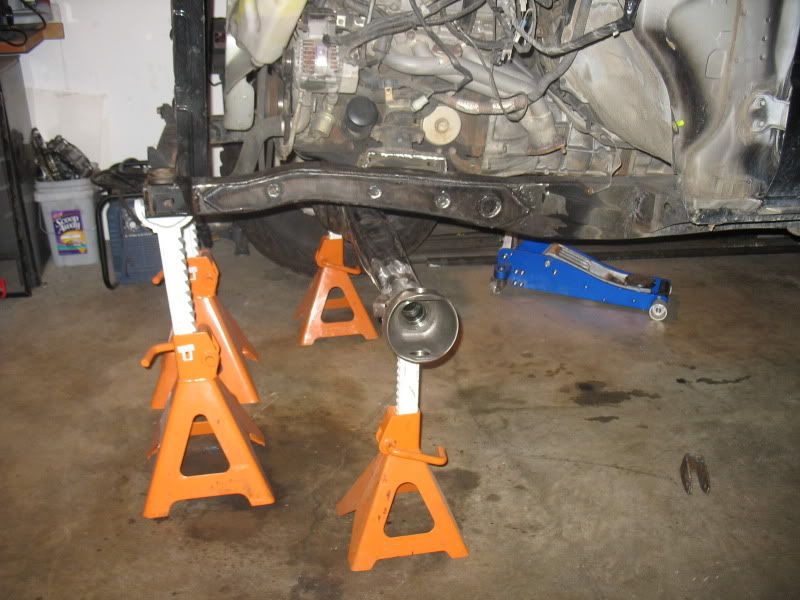
This weekend I got the axle re-located under the truck, and welded in place.
I think this image will help show the difference in frame height. The axle is at the exact same height as before.
I went from about 4" of uptravel (to the frame, so not actually something I could use) to 7.5". I may bring the axle up a bit still.
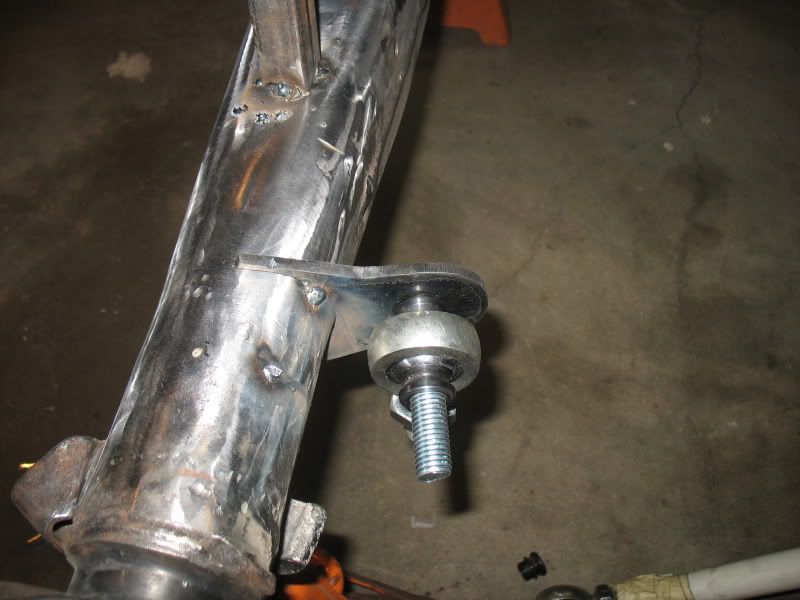
Lastly, I began working on actual link brackets, before the power went out. Getting these things mocked up is a challenge. I may re-do the short side's pictured here, as I believe I have a better design for the long sides.
-I love you.-<br /><br />1987 BigWheel
 Posting Permissions

 Reply With Quote